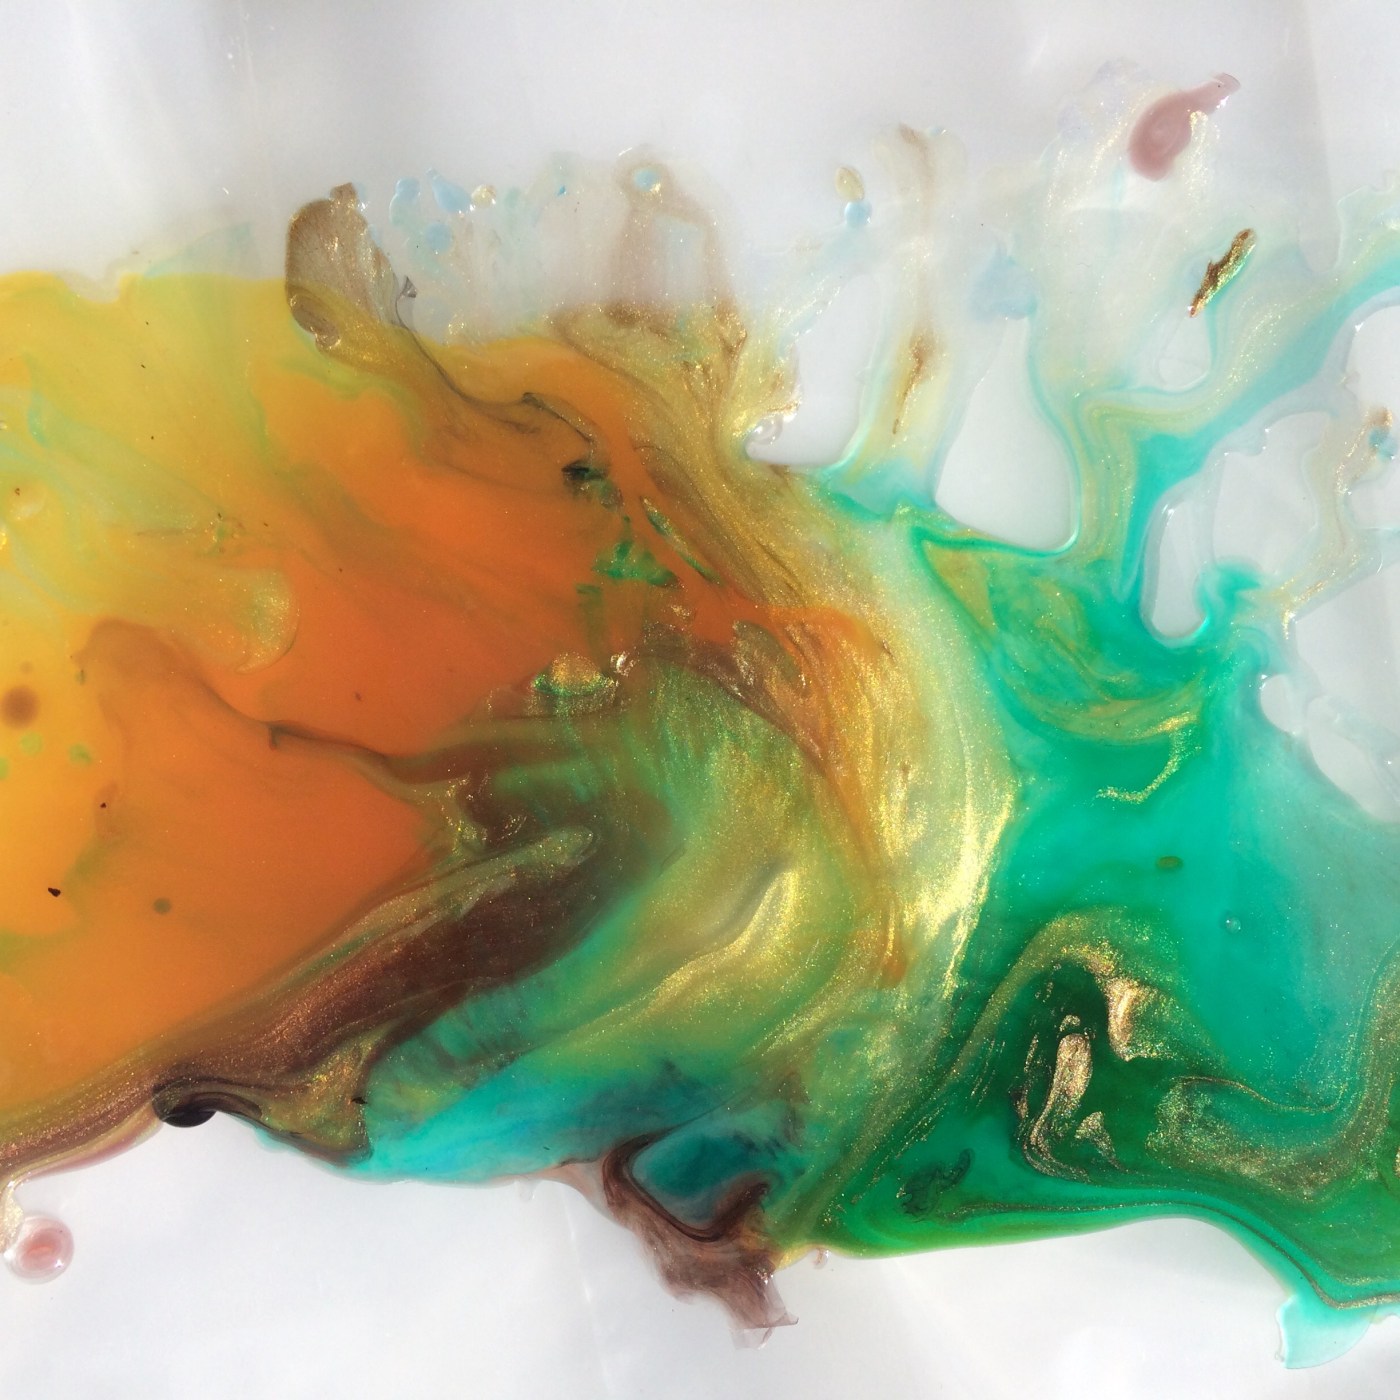
I love this process, the freedom and happy accidents that occur with it. If you pour, you know what I mean.
Sometimes the results are wonderful. Sometimes parts of it are.
I saw an ad a popular arts & crafts store did for pour painting, and I thought, you know, I need to put something out there about focusing on pouring to make art, not just arts & crafts. Because it’s fun, like crafting a marble effect, and freeing, it’s become crazily popular. But man, if you saw that commercial, you might see it as fun but their examples left the art out of it.
How to make pour painting art? Simplified, I’d say keep art principles in mind –
COMPOSITION: Composition, perhaps using motion and assymetrical balance as your guide, and unity. You may have a great innate sensibility already tuned to this – don’t discount that. But the classic lessons on composition can really help you create more artful and satisfying pieces and less pieces that end up stuck in the back of the closet.
Here’s a good place to begin for internet studiers
For a more thorough read, you can’t get any better than David Lauer’s Design Basics books. I’ve burned through and given away just about every edition, including the old black and white version. It’s college level, but easy to read and for artists, the short explanations with copious amounts of illustration and photographs are easy to embrace. Visual learners, this book is key.
LAYERING (and gelskin hack):
As you progress, you may find that some pieces have promise but just aren’t satisfactory as they are. Yes, you can layer this stuff. I can tell you from experience that you can layer, and layer, and layer … and soon it will start taking a really long time to dry in between layers. And note – with transparent paints, it’s much easier to go darker in layers than lighter, unless you start adding some opaques, which can be tricky.
You’ll also find that you can also ruin a painting pretty easily by not really knowing what you want to do in that next layer.
Hack: Try the type of layer you want on a piece of plastic sheeting, polyethelene, or even a large Ziploc bag. Let it dry, and check it on top of the piece. If you get an effect you like, you can either recreate it on your piece, or simply peel the gelskin off, and brush on some gloss medium or pouring medium, and apply it to your art making sure to squish out any bubbles. MAKE SURE NOT TO LAY YOUR GELSKIN DIRECTLY ON YOUR WORK, especially if it’s sticky at all. They may become one. And, Yes, your surface will be bumpy – try doing a pour over the whole thing (I usually wait until it’s all done, do a final pour and Art Resin to clear up surface issues.
This is only one example of layering – experiment!
COLOR THEORY (and hack): The David Lauer book is good for a bit of this, and there are tons of books out there. Color Matters offers a fairly concise description – but what you are interested in here is how they are going to react on the painting. And, especially, what you might want to layer on. Sometimes a very light transparent glaze is all you need to tie things together in a beautiful way.
Hack: Use sheets of mylar or scraps of plexiglass from your framer, and mix a little of your transparent paint with pouring medium. Pour a large enough puddle of each in sections on your mylar and let it dry thoroughly. Us this to hold over your painting and see what you might want to add in a layer. They keep for long use if you put a sheet of polyethylene (painter’s tarps) around them when you store them. Note – The paint will stick to the mylar – this is not a way to make gelskins.
USE THE SPECIAL PROPERTIES OF THE MEDIUM: I’d go a bit farther, too. The nature of Liquitex Pouring Medium is that it has wonderful clarity and creates spectacular light-bounce. This creates especially lovely effects with transparents, metallic and interference paints (called color-shift by some companies). If you want to use opaque paint, you might save money and try one of those cheaper alternatives like Floetrol* or Glue, like many demonstrate with this on YouTube. I don’t use them so don’t ask me for advice on that!
Listen, however you want to paint, do it. If you hit those paintings that are pretty but just don’t make you happy, seriously consider doing a bit of study. You might find it fascinating and fulfilling to use it in your work.

March 21, 2018 at 10:07 pm
Your work is breathtakingly beautiful!
Thank you for the article, Linda.
I especially like the fact that it reminded me of enhancing and correcting with acrylic skins… I forgot about that!
LikeLike
March 22, 2018 at 1:43 am
Thank you! I can’t wait to post some of my Mendocino paintings when they’re finished …
LikeLike