Hi there! I thought I’d give you some information about how to care for your poured art made with .Liquitex Pouring Medium.
After it’s dry on the surface, it can stay open or slightly sticky and vulnerable to damage for a while. And, underneath, it can take a while for all of the moisture to evaporate – you can usually see a degree of milkiness while it’s drying. Sandwiched layers can take weeks to dry (think of milk trying to dry between a sealed plastic envelope), so be patient, especially in high humidity.
While drying, make sure to keep dust off it, especially if it’s exposed to heat. Exposure to heat opens acrylic molecules and it can tend to grab the dust and become one with it. This can happen with paper, or whatever pourous object is touching it. This medium is particularly susceptible to this problem.
Give it several weeks to fully cure before you varnish it. I like Golden’s or Krylon’s gloss UV archival spray varnish – less chance of bubbling than brushing it on and hardens the surface a bit. Make sure to follow the directions and keep the nozzle clean to avoid spattering, which can ruin your finish. UV protectant is a good idea, especially if you use a lot of interference paint, which can go “fugitive” on you with sun exposure.
I still suggest using care when handling it or storing it, if it isn’t going to be hung on your wall right away. The medium never really goes as hard as a resin, and you want to protect it from dings and dents.

September 19, 2015 at 8:50 pm
Do we have to put a varnish over it ?
I need to put on another layer to fill in empty spaces; you mentioned at class last week to just pour it over the whole thing but I’m concerned it will cover the metallic shine and not go over evenly. Any tips on second layers. – Thanks, Donna
LikeLike
September 20, 2015 at 3:35 pm
You don’t have to put a varnish on it – the ones I keep and hang right away are unvarnished. But work that you are going to ship or give to a gallery to hang in a show should ideally have a couple of coats. Make sure to use gloss so you don’t reduce the sheen.
Layering is a separate blog (and thanks for giving me the idea). Let’s go over it in the Hooked on Liquitex Pouring Medium Facebook page: https://www.facebook.com/groups/1646844268889302/ (yes others can join) and get the questions answered. Make sure to post a photo of your piece so that people will understand what the concerns are – maybe 2 shots, one of the full piece and one a detail sample of the metallic area.
Thanks for the post, Donna!
LikeLike
September 20, 2015 at 6:24 pm
When I go into your Facebook page There is no way for me to add a post or picture. I could leave my question as a comment from the last post which shows my picture (the blue one on top right) ?
Sent from my iPhone
>
LikeLike
September 20, 2015 at 6:42 pm
Are you going to the group page at this link https://www.facebook.com/groups/1646844268889302/ for “Hooked on Liquitex Pour Painting”? I think you have to ask to join the group before you can post –
LikeLike
September 20, 2015 at 7:08 pm
Yes I did that – still no way to post!
Sent from my iPhone
>
LikeLike
September 20, 2015 at 7:18 pm
Hmm. I wonder how it was that Kelly could get hers up… Go ahead and send it to me at lindaryanart at gmail.com (separated to avoid bots). I’ll get it posted – heading out to an art reception right now at the Bankhead, so probably can’t do until tomorrow am, but I’ll try.
LikeLike
September 22, 2015 at 3:36 pm
Ok, I think I fixed the problem, go ahead and retry. To answer the question about how to fill in holes, here’s a short answer. I’ll go into it further in a later blog:
If you take a small squirt bottle with clear, plain pouring medium and start by adding some into the holes, then do a careful pour over the top of the rest of the piece it should be fine and enhance the Metallics. It will still be depressed where the holes are- it would take some additional layers to fill those holes completely and you would probably never achieve total flatness, but the actual painting portion will still be fine.
It will take a while for the holes to dry.
I hope this helps!
LikeLike
October 9, 2015 at 4:37 pm
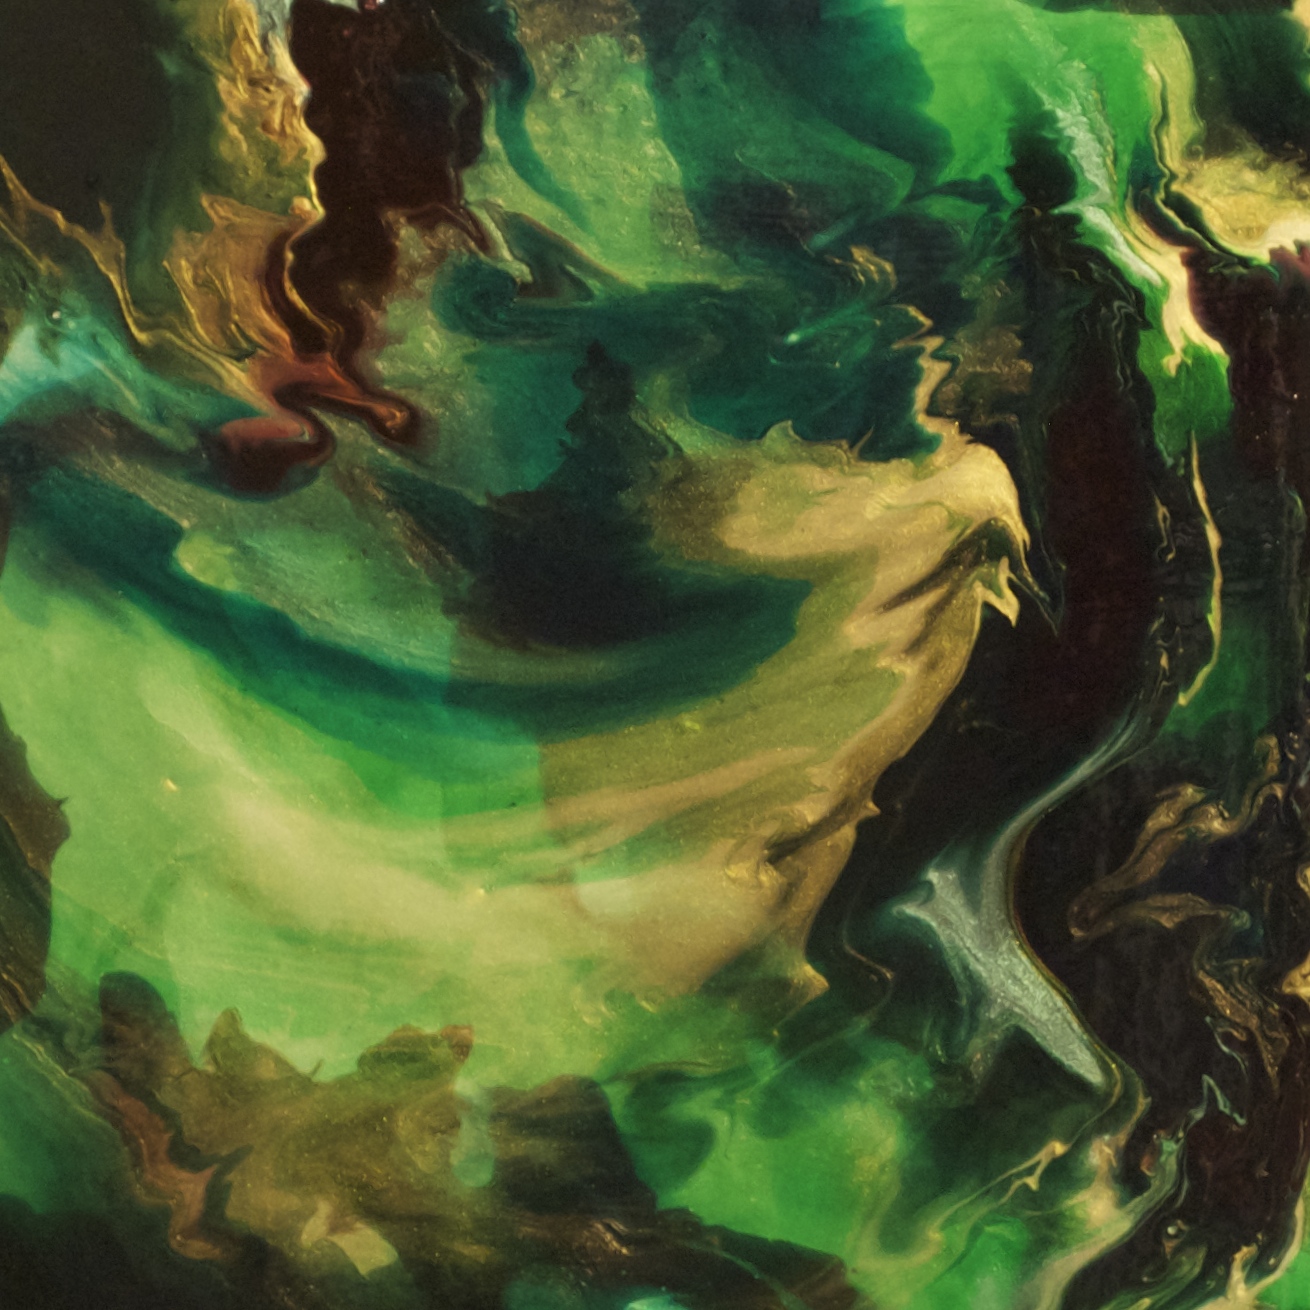
Hi Linda, thank you for that information, it has been most helpful. It has been a very expensive medium to experiment with, it does take so long to dry and I had a piece of work marked when something was leant up against it and didn’t realise it was still not firm on the surface. I did think this medium would behave more like a resin. Patience is the answer with this medium and I will try the spray varnish you have suggested. Thanks again and really love your piece of art you are displaying here.
LikeLiked by 1 person
November 30, 2015 at 1:08 am
Thanks Deborah, have you tried the varnish yet?
LikeLike
January 24, 2017 at 6:00 am
I’ve revised my thinking on the varnish. I’m now sold on ArtResin as the ultimate solution. It’s expensive, but especially if you are shipping your work to clients or to shows, it protects the surface in amazing ways – and if damage does occur, a simple second resin should take care of it. I had 4 pieces come back from a show in Miami with considerable surface damage, and this fixed it.
LikeLike