UPDATE: I am now completely sold on ArtResin, a non-yellowing, museum-grade acrylic resin with excellent UV stabilizers. It’s expensive, so it’s not going to be for everyone, but if you are intending to exhibit or sell your pours in galleries, it might be worth it. It’s nontoxic, also. Great info and demo videos are on the website, but I suggest looking up any questions on their FAQ page, here.
Hi there! I thought I’d give you some information about how to care for your poured art made with .Liquitex Pouring Medium.
After it’s dry on the surface, it can stay open or slightly sticky and vulnerable to damage for a while. And, underneath, it can take a while for all of the moisture to evaporate – you can usually see a degree of milkiness while it’s drying. Sandwiched layers can take weeks to dry (think of milk trying to dry between a sealed plastic envelope), so be patient, especially in high humidity.
While drying, make sure to keep dust off it, especially if it’s exposed to heat. Exposure to heat opens acrylic molecules and it can tend to grab the dust and become one with it. This can happen with paper, or whatever pourous object is touching it. This medium is particularly susceptible to this problem.
Give it several weeks to fully cure before you varnish it. I like Golden’s or Krylon’s gloss UV archival spray varnish – less chance of bubbling than brushing it on and hardens the surface a bit. Make sure to follow the directions and keep the nozzle clean to avoid spattering, which can ruin your finish. UV protectant is a good idea, especially if you use a lot of interference paint, which can go “fugitive” on you with sun exposure.
I still suggest using care when handling it or storing it, if it isn’t going to be hung on your wall right away. The medium never really goes as hard as a resin, and you want to protect it from dings and dents.
My first real art encounter was in fourth grade. As usual, I’d either been too talkative or too helpful with others’ schoolwork and was sent to the library as punishment. Punishment! With my glasses on the end of my nose, pouring through a treasure of books I’d never be able to own, I was in heaven.
Sometimes there were piles of donations that hadn’t been gone through and catalogued yet. Someone must have donated my find – a big art history book on the Impressionists, filled with large photos of the great works.
Woman with a parasol, especially, but the entire book of paintings astounded me, for many reasons.
First, because it was as if they were painting nearsighted, the way I saw things without my glasses. They seemed alive, those paintings. Not like a photograph – Like they could move or dance or you could step into them and be in a magical world. And, they weren’t even trying to paint within any lines! It was messy! It was imperfect and they were proud of it.
And, for the first time, I understood that art could make you feel something. Wonder, joy, a connection with a long-dead artist, a sense that a person actually painted that woman, that umbrella! and that because it left you with such a good feeling, you sort of “knew” him and knew you would have liked each other.
The book was gone after that day. Perhaps someone decided it should be in the high school library instead, such a nice book, that gangly girl with the cat-eyes and messy braids is going to crumple the pages, the way she’s holding it so tightly…
Because I had to appease that inner urge to take drawing as far as I could, I found myself on the trajectory of hyper-realism and did that for many years. It started with my mother supplying me with beautiful new pencils and drawing tablets whenever I needed them. Even when we were broke.
It wasn’t until later that life showed me the lessons I learned in 4th grade were what I needed to follow: Paint what you see how you want to express it. Forget following the lines. Be messy. Make it alive.
I’m not an impressionist, by any means. But that book laid the foundation, and I am thankful to that unknown donor to this day.
I’d love to hear from you about your own art experiences!
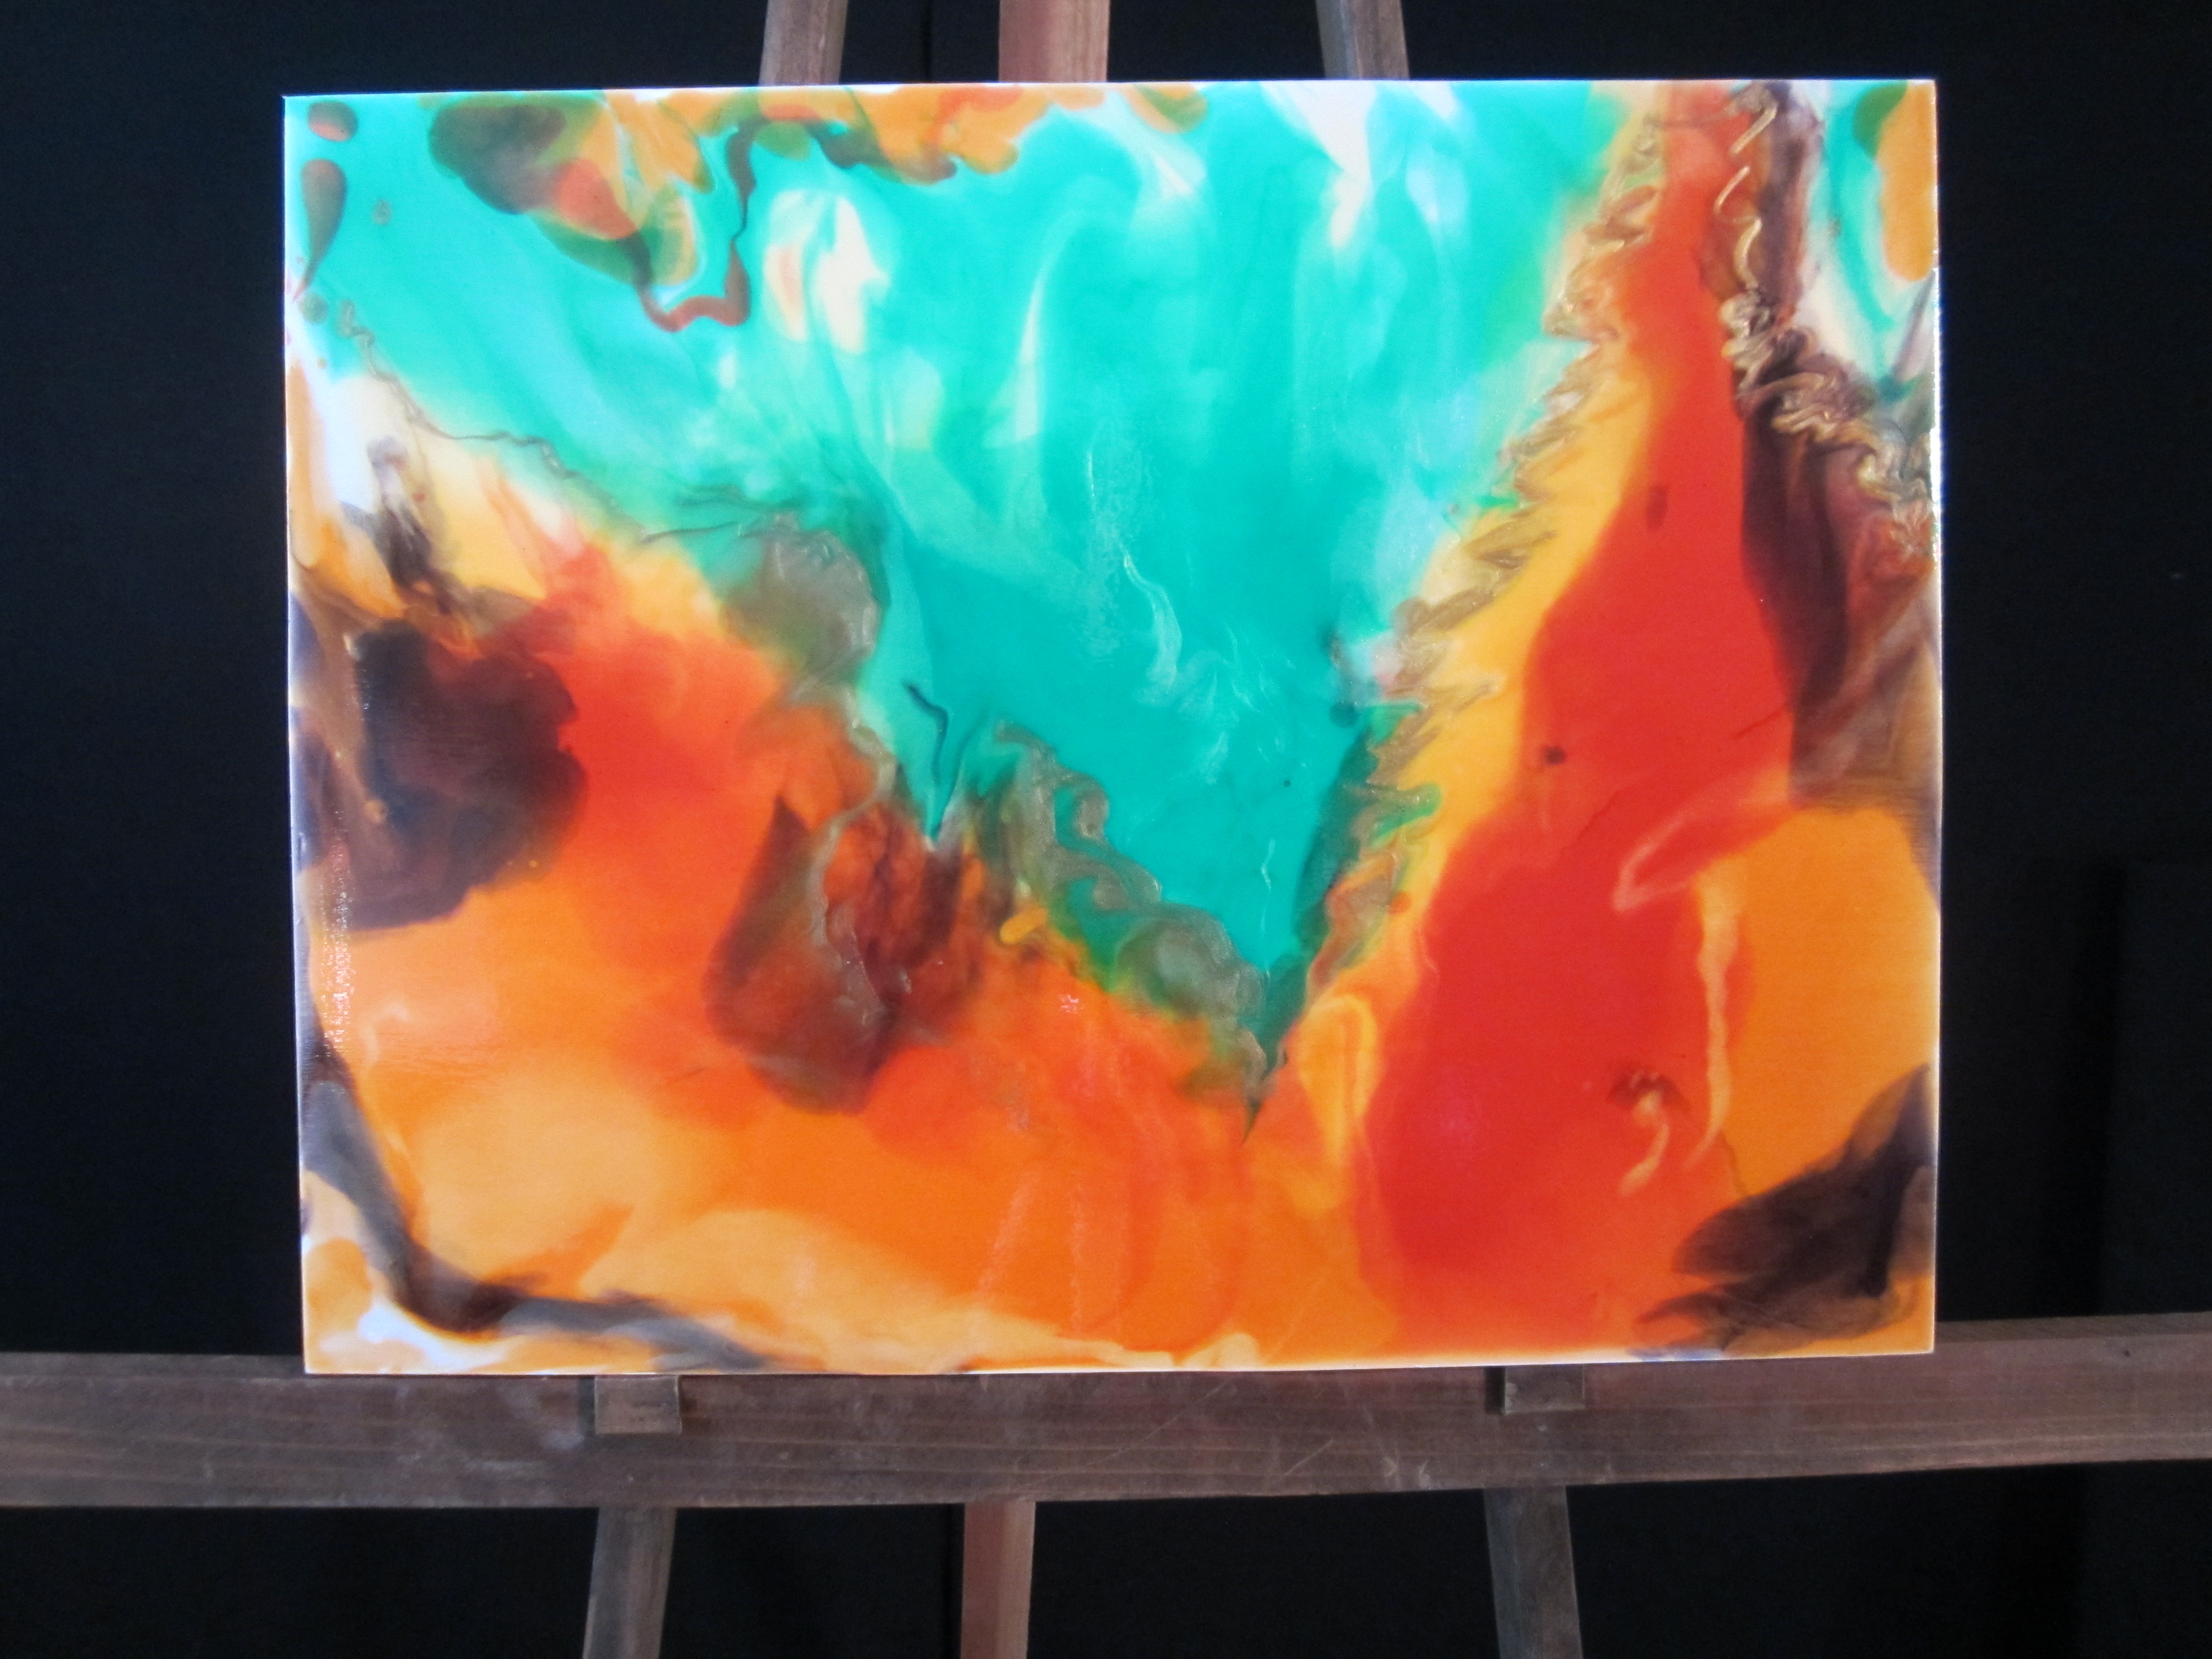
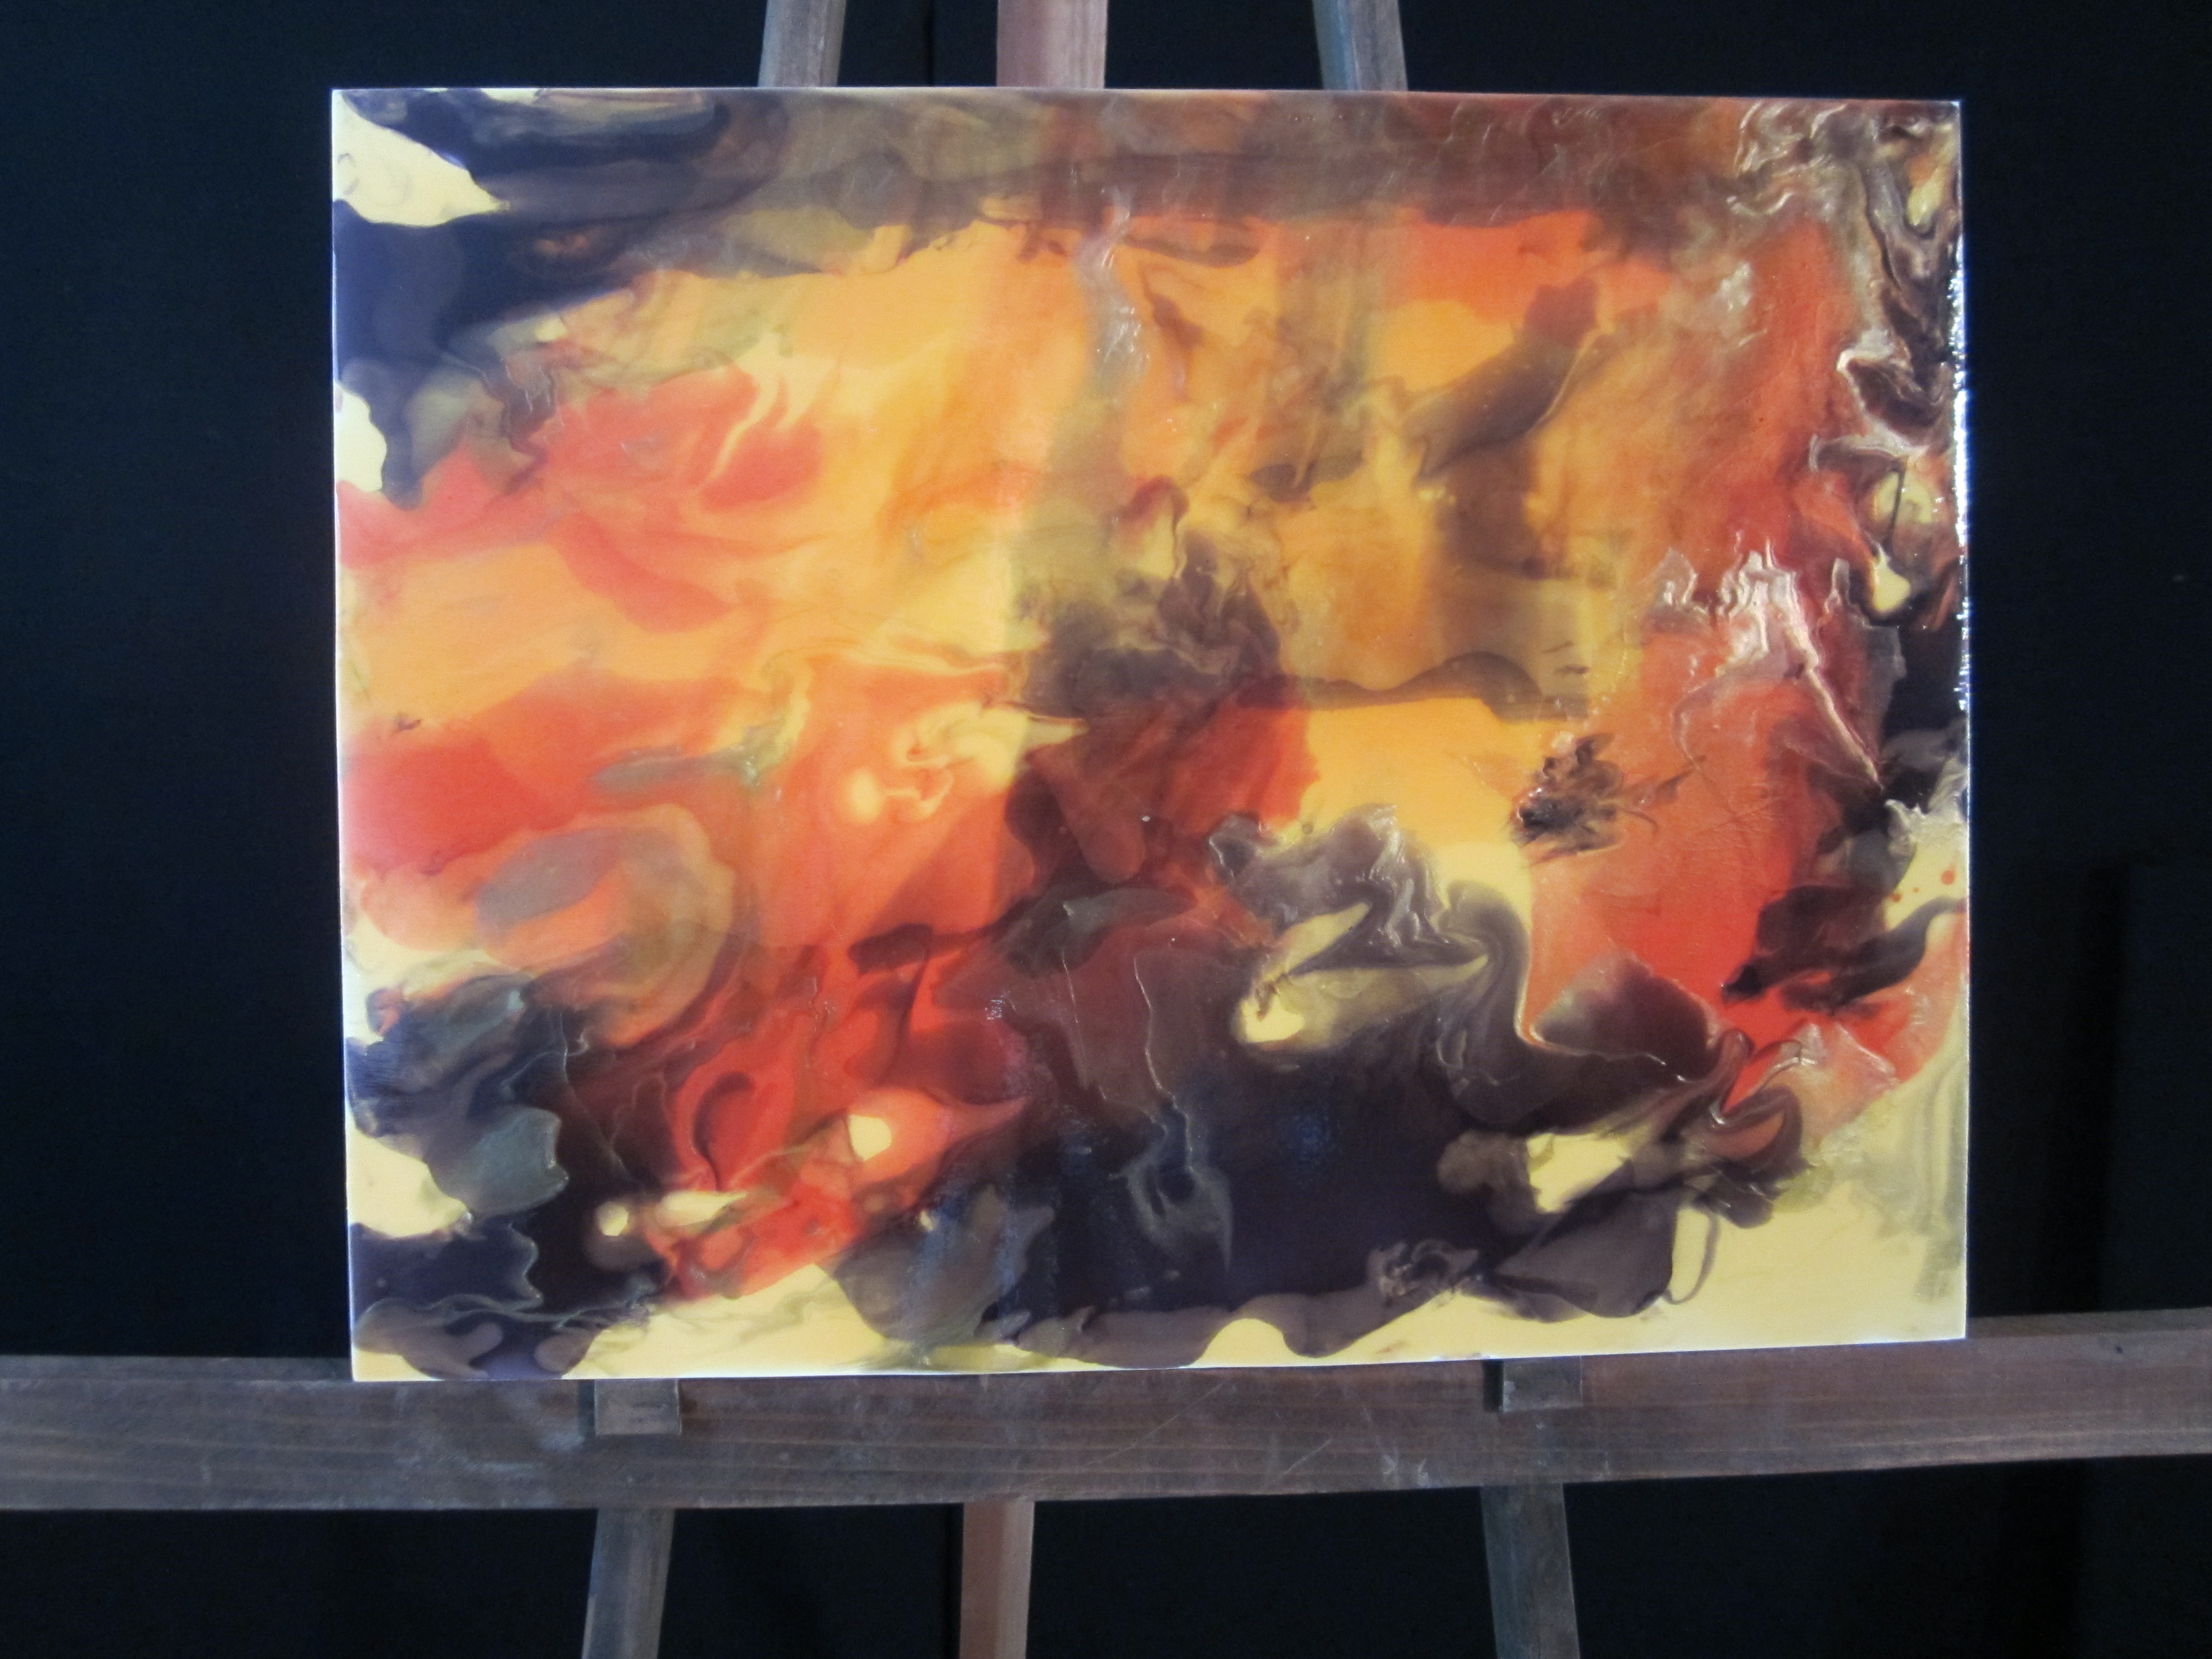
First Luminous Pour Painting-focused Workshop 2015, 12×18, by Frank Castillo
The workshop, held August 31st at the Bothwell Arts Center, turned out great and taught me as well! I’m giving my first students great introductory prices so that I can get their feedback and improve as a teacher, also, before I go out and do this on a broader scale. Want to join us? For a limited time, you can get my workshop materials for free, learn how to make luminous pours, and be one of my “pour painting test kitchen recruits” – click here.
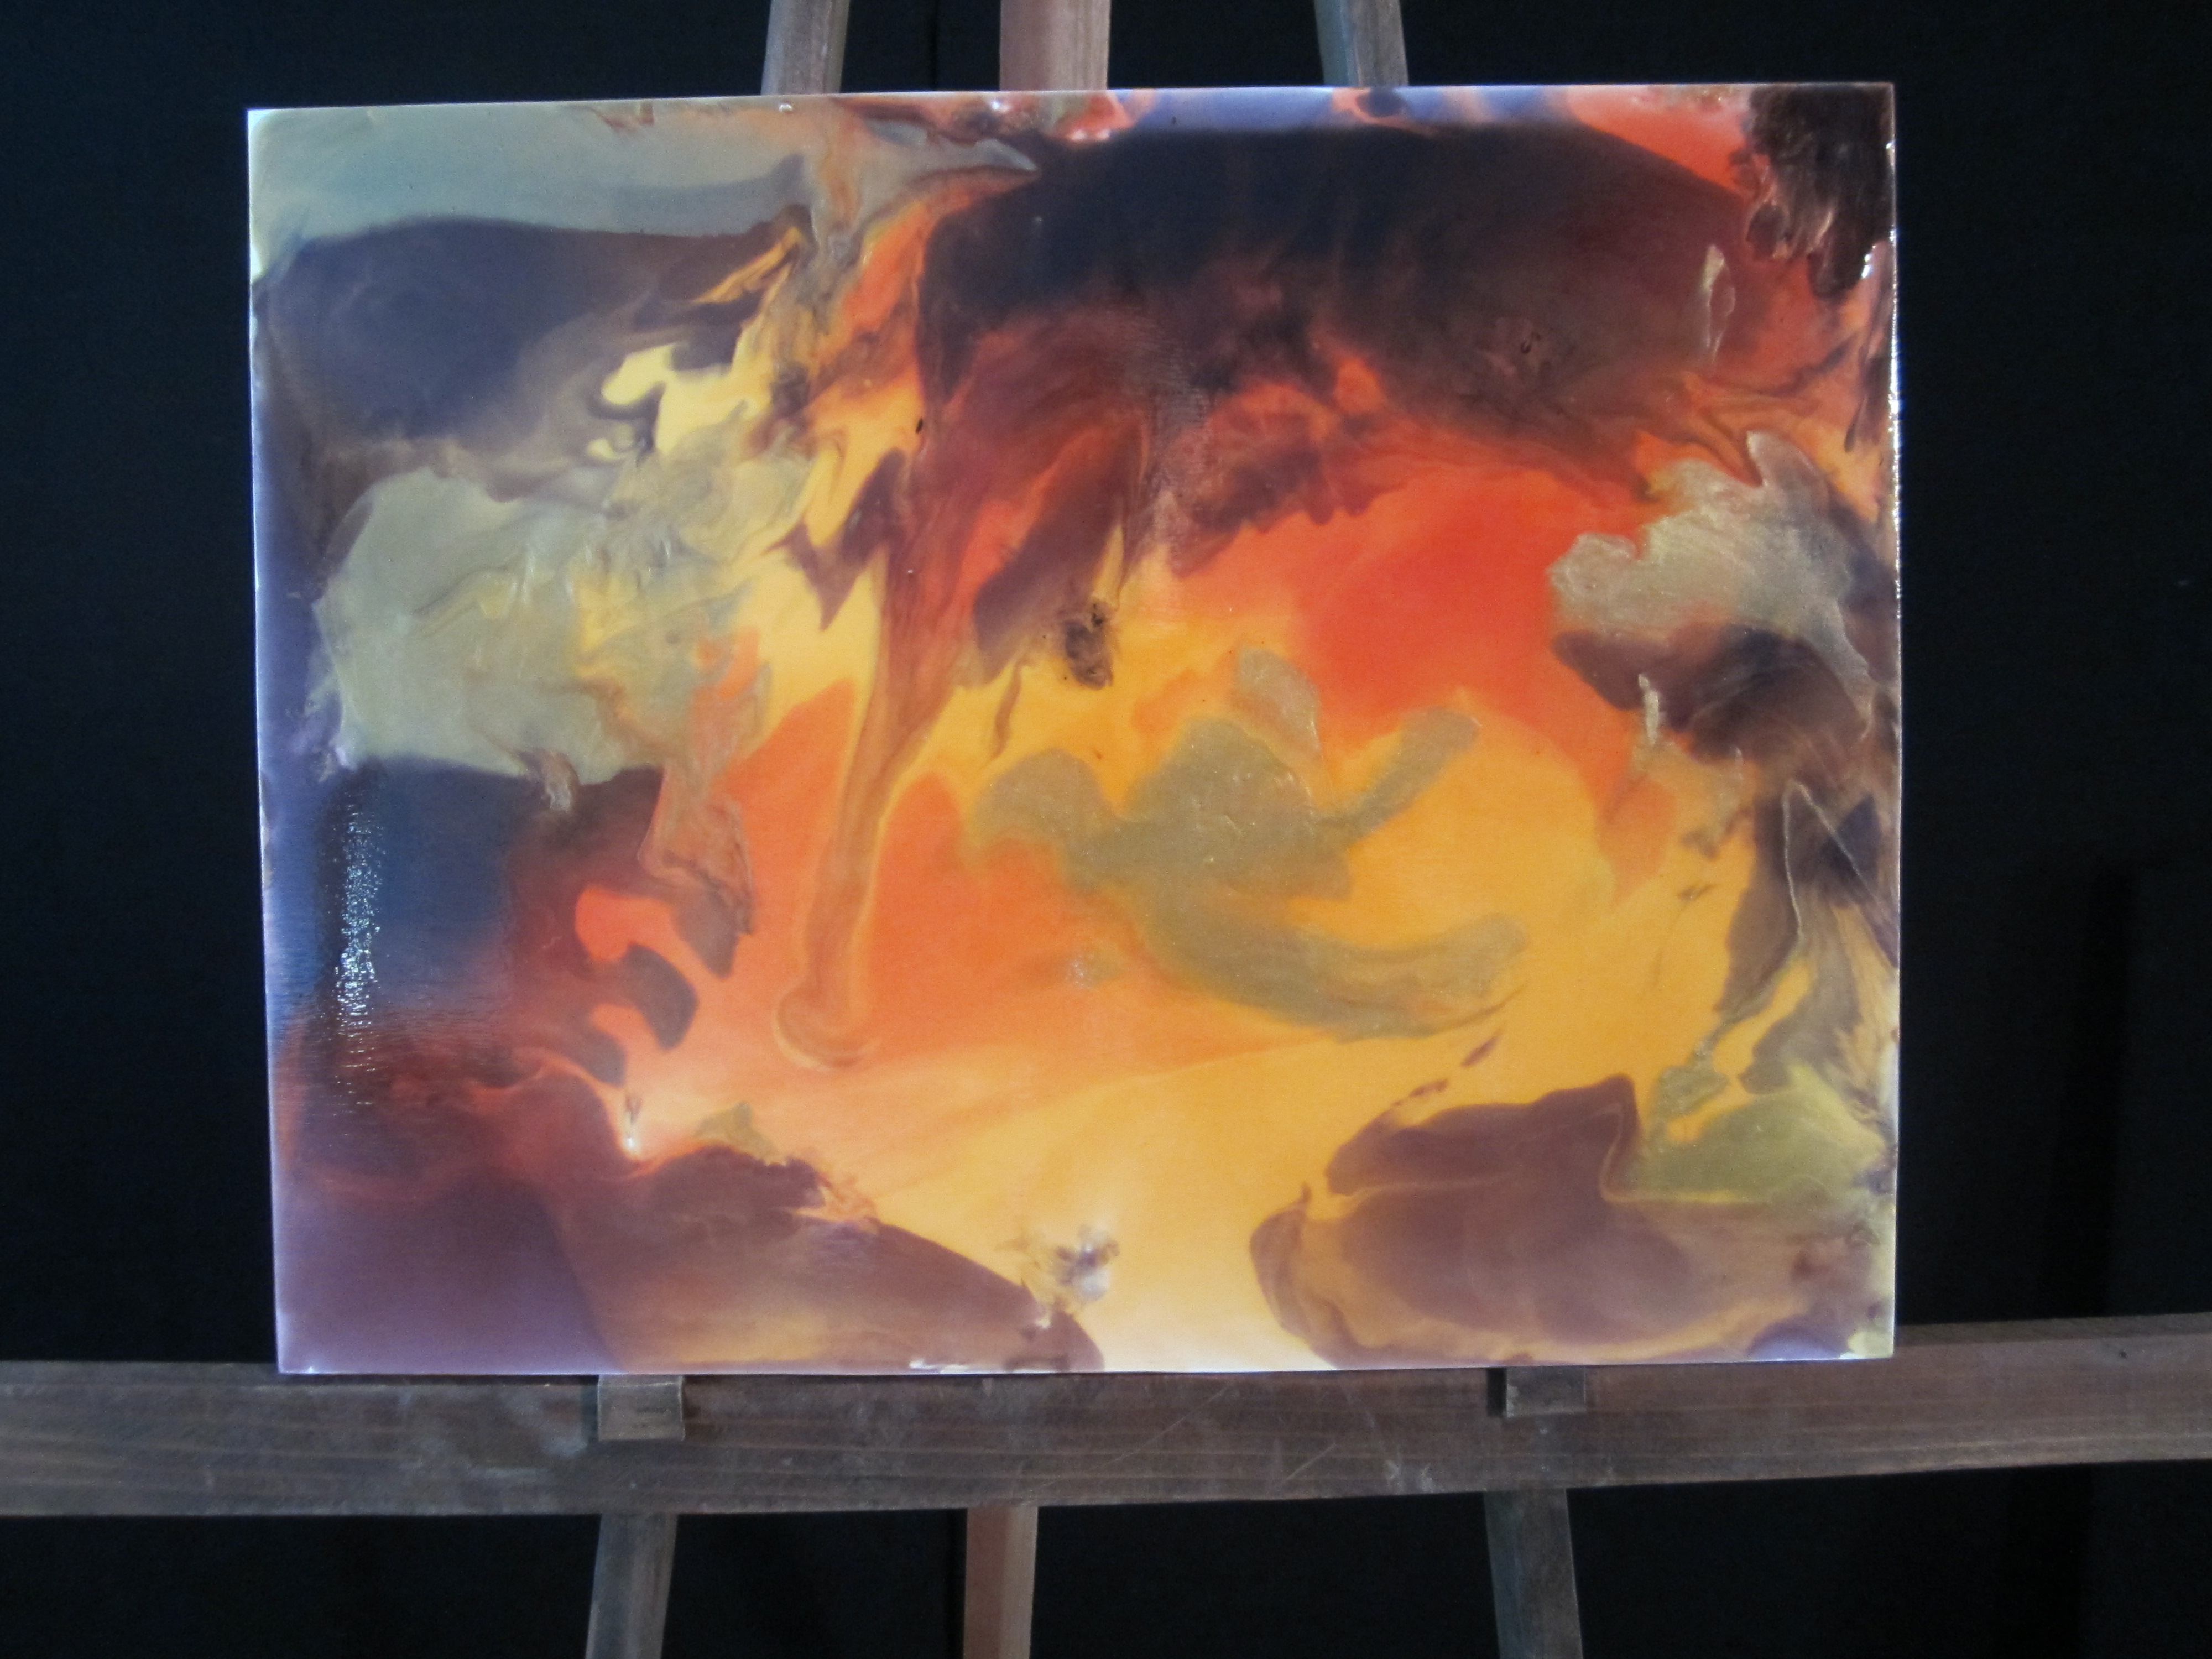
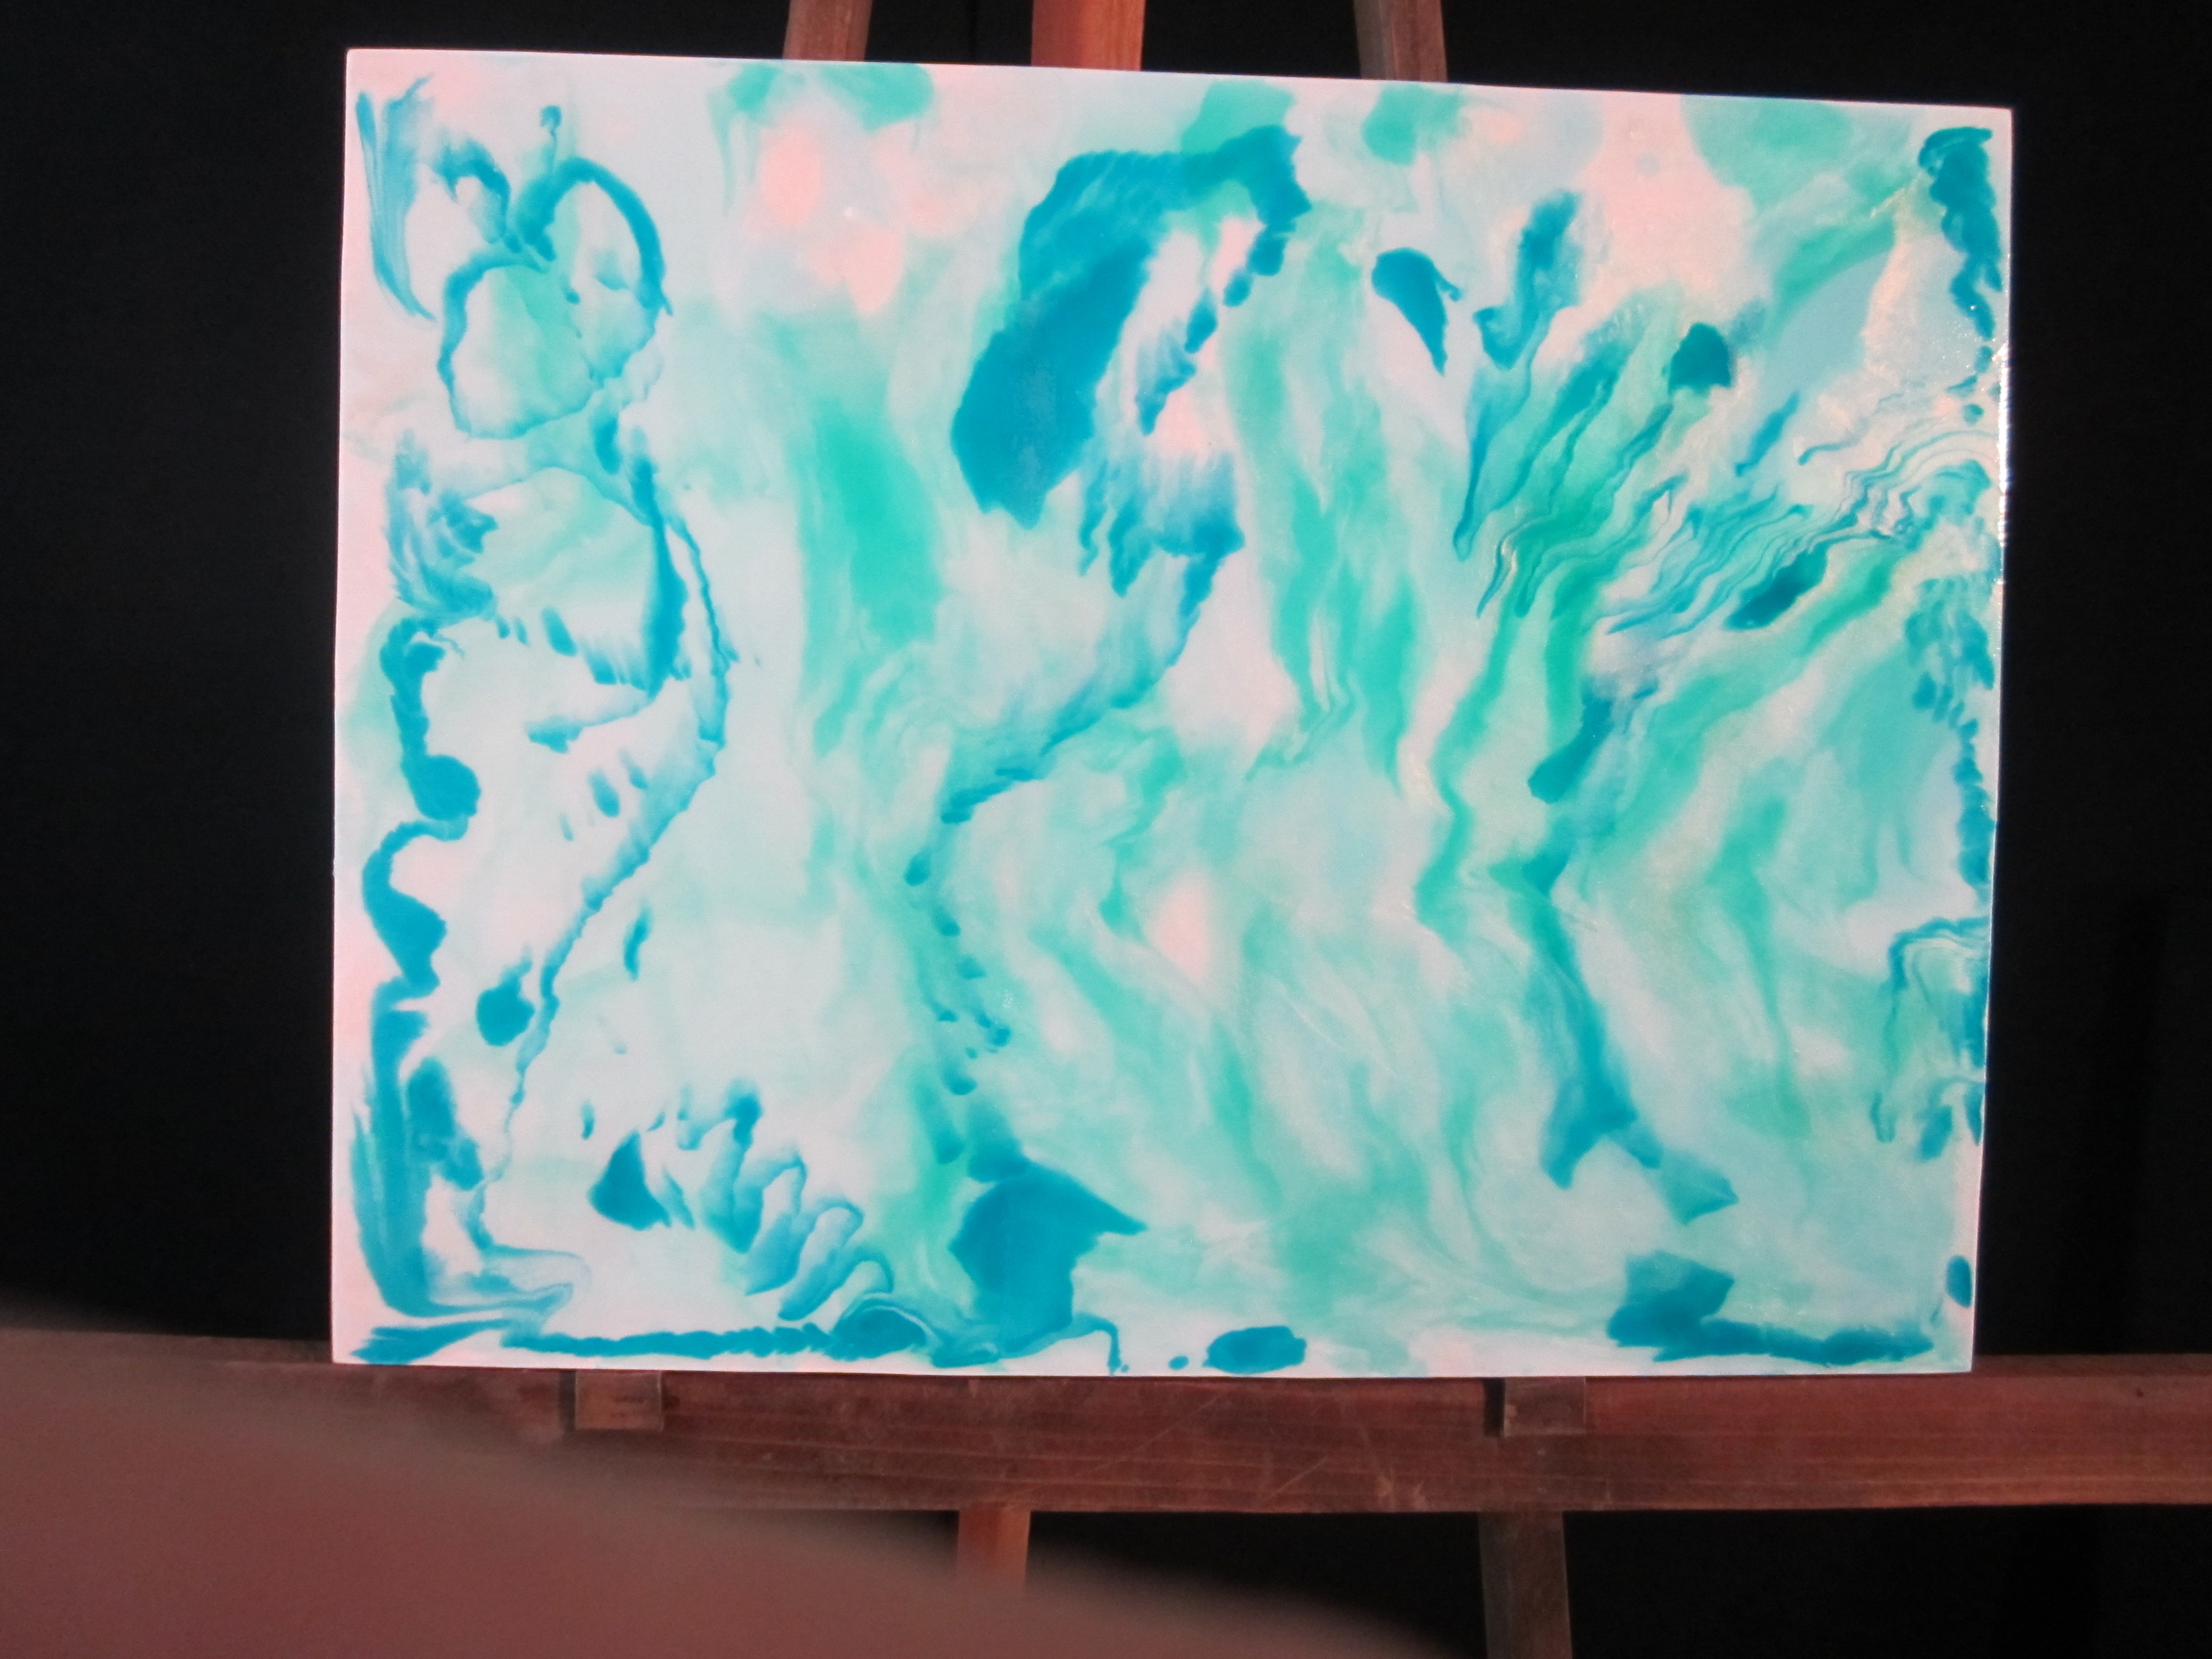
Students practiced on plexi and then created these pieces themselves! Woot woot!
First Luminous Pour Painting Workshop, 2015 – Beverly CastilloFirst Luminous Pour Painting Workshop 2015 by Peggy Schimmelman 12×18First Luminous Pour Painting Workshop, 2015 by Marge HagginFirst Luminous Pour Painting Workshop, 2015 by Jeanne BarteltFirst Luminous Pour Painting Workshop, 2015 – June FerrerriFirst Luminous Pour Painting Workshop, 2015 – Vicki Aboumrad
First Luminous Pour Painting Workshop, 2015 – Tammy Averill
First Luminous Pour Painting Workshop, 2015 – Nancy Carver
First Luminous Pour Painting Workshop, 2015 – Carol EicherFirst Luminous Pour Painting Workshop, 2015 – Norma Webb
Acrylic paints (recommend: Golden Fluid Acrylics or Liquitex Soft Body)
Small plastic containers for mixing/storing variety of colors
Dixicups (optional, but used for propping pieces off table)
Tub to collect paint drippings
Colors:
First, pick your color choices for this painting. I’m providing some of mine as examples.
Paint Group Suggestions
For your first Luminous Pour Paintings, I’d suggest picking a group from the list below; a few light, transparent paints, one or two darker, and a few metallic or interference colors. In your first paintings, try to aim for a more light than dark, create movement with a smaller amount of the darks, and highlights of opaque or metallic or interference paints. Play with one group of colors before moving on so that you can start to get a feel for it
Let go of the need to be perfect!
Warm:
Quinacridone gold – or transparent yellow iron oxide
Quinacridone burnt orange
Mixed blacks/brown (ex Anthraquinone blue and Quinacridone burnt orange)
Interference gold and/or orange (mixed fairly thickly, but evenly)
Any metallic gold or bronze
Cool Toward Purple:
Pthalo blue (blue shade)
Mixes of degrees of blue (blue shade) or Anthraquinone blue and Quinacridone magenta
Quinacridone magenta on its own, or pushed a bit with pthalo or anthraquinone blue, or shaded down with a touch of pthalo green
Opaques – white, or interference blue, violet, or even a little gold
Mixed black from Quinacridone magenta and Pthalo green (may need a touch of transparent iron oxide to push it)
Blue, sea tones:
Pthalo blue (green shade) some lighter, some darker
Pthalo green, blue shade
Transparent Yellow Iron Oxide
Transparent Red Iron Oxide or Quinacridone Burnt Orange
Mixed black from Pthalo Blue and Quinacridone Burnt Orange
Metallic golds or bronzes
Interference gold or green
TEST IT OUT:
Snag a Plexiglas panel and some gloves. Put the gloves on.
Pick a light and a dark paint from the group you choose. Pour three half dollar size puddles of your light, three quarter sizes of your dark. Squiggle some metallic or interference pain around.
Start tilting!!! Don’t be afraid of diagonal tilts either, or reversing a tilt. The idea here is to see what the paint does, what happens when you tilt it sharply or lightly, how they flow together, stick stubbornly, mingle, drip it off the sides, make a general mess. You can’t ruin it – this is practice.
Find what you like, (or liked, as it probably changed as you tilted it) and think about what you did to make that happen.
Stuff You Will Want to Know
Mixing Your Paint with Pouring Medium
Mixing can sometimes be the most time-consuming step, but if you do it right, your piece will be better in the end.
Carefully pour some medium into a jar or cup, then add a few drops of your pigment, then more medium, and more drops. Pour carefully to avoid a lot of bubbles. This medium can froth and you can end up with a frothy bubbly painting instead of the resin-like surface this medium is meant to help you create.
Start stirring with a plastic spoon, lifting the mix from the bottom up. If you swirl from above, you risk introducing a lot of air, creating bubbles.
About the bubbles – Never shake pouring medium! If you do, you have to wait for it to settle down before it’s usable.
Getting the color you want:
This medium is almost milky translucent. It won’t be when it dries – it’ll be clear. It makes your colors look lighter. This isn’t yet the forum for a lot of color theory, but these tips will help:
Mix black from lots of drops of transparent paints
Alizarin Crimson + Pthalo Green
Anthaquinone Blue + Quinacridone Burnt Orange (My Fav)
Mix Great Brown by adding more of the Alizarin Crimson or Burnt Orange
They won’t look black or brown – test it on white paper or the plastic tarp.
Really Light Colors – if you want really light colors like baby blue, instead of adding white, which makes it opaque and deadens the luminosity, just use very few drop of your blue and let the medium separate the pigment particles and bounce light between them and give you your light color. You will be using light instead of paint to make a light color – as long as you are working on a white or gessoed surface. Test it by rubbing some across white paper or your tarp.
How much do I mix up?
More than you think you will need. You always need more than you think. Store leftovers in an airtight container.
____
OK let’s make a beautiful mess!
In your first paintings, try to aim for more light than dark in the beginning, create movement with the darks, and highlights of opaque or metallic or interference paints. Play with one group of colors before moving on so that you can start to get a feel for it.
Let go of the need to be perfect. You are learning.
Gloves on!
Pour your main light first – this is the most paint you will use with this beginning project. For your first project, don’t over thing where it will end up – just pour where you’d like it to start.
Add another medium color if you want where you want
It’s a fun time to put in a bit of interference or metallic if you like that stuff
Using small tilts, tilt to the side, tilt it away from you, and tilt to the other side if you want, and then tilt toward you to spread it around a bit. It’s ok if some of it runs off the side.
Add Your Darks
Don’t be symmetrical about this!
Choose where you want to start your darks. Try to avoid too much symmetry. Symmetry kills motion. Balance is good, but achieve it without doing one there, one here, one there, one here …
Add puddles or swoops of your blacks, smaller browns perhaps next to, in or near them, and then add some small areas of bronze and/or interference gold and/or metallic bright gold … these are just starting tips. You can totally experiment one you get the concept down.
If you want to lighten an area, you can pour clear pouring medium in that area.
Note—Adding anything to an area will push the paint next to it away a bit, in general, and even more so when you tilt it toward that paint. Sometimes you may want to do that on purpose.
Time to Really Tilt that Puppy
Try not to do exactly the same order of tilt as before. You can try a little tilt at first, at this point can tilt it the other way if you don’t like it and a lot of it will correct itself. Diagonal tilts are often effective at this stage. You can also run a gloved finger to mingle some paints together (this is great with bronzes, golds, etc. that like to stick together and float around the top).
You might want to get brave and do a big tilt or a diagonal tilt – or tilt and turn and tilt and do little titls. Stop and look at it once in a while. I had no idea how often and long I just stopped and stared at a pour painting in process until I started working on YouTube demonstration videos. I think I’ll cut those parts out.
Try to remember where your darks may have anchored themselves to the board – you may only see a ghost of them now through this glue-like stuff, but you will see them when it all dries and it can really change the composition.
Don’t worry too much, through, you can do another layer later if it isn’t quite there.
While it’s still wet, you can squeeze, drop or pour your mixed paint into holes that are left on the surface, use a gloved finger to encourage paint to meld together or swirl, or to shore up funky edges and gaps. You might want to use that gloved finger or the back of a spoon to soften up the edges if you do that, or to bring paint out to the edge of the painting.
If it’s started to dry, don’t add more paint. You can do a little of this later, or do a completely new pour on top as long as it’s all dry (wait a couple of days to make sure … unless it still looks milky, and that means waiting even longer)
Be Done Before You Think You are Done
When you are done, wipe off the sides with your gloved finger (just to smooth it out a little) and if your working surface isn’t level, transfer it to a level surface and let it dry on top of Dixie cups (you can add extra Dixie cups to the one side to make it more level if needed). Make sure the surface is protected – this can really run if not level, and engulf whatever is in its path.
Keep Pets and Small Children Away
I know from experience that cleaning up gooky cat paws and paw prints on a floor is no fun and the cat doesn’t like it much either. Rubbing alcohol can help the floor. There’s nothing much for the cat but soap and water.
Plus it messes up your composition big time!
Bonus Tip
ITCHING TO STILL PUSH IT AROUND? After about 30 min – 2 hours depending on your humidity, heat and airflow, the cloudiness in the top surface will have cleared just a bit and formed a skin. Doesn’t mean you should touch it! BUT—if as it starts to clear you don’t like what’s going on underneath, you may be able to nudge the underlying layers in a different direction by giving it a little tilt. This is because the bottom layer is still wet and moveable.
Don’t nudge it too far, you can end up with weird buckles and bumps on your surface. Sometimes I’m ok with that. If it’s not too thick, you can correct it with a clear pour.
Tips & Tricks: Tools & Materials
General:
GLOVES! – Always wear gloves. This is like glue and your cuticles will hate you!! You will need more than one pair. I always end up with interruptions while my gloves are goopy and have to tear them off and grab another pair. You can use less gloves if you keep a bucket of water around and drop them in it (and remember to fish them out later for drying).
Yucky clothes & shoes. You will get it everywhere. If you are a very meticulous sort, definitely use yucky clothes and shoes and make sure to drop some paint on them right away. Then you’ve already been messy so you can stop worrying about it and let loose.
Poly tarp or large black garbage bags to protect your painting surface and the floor. Poly backed paper tarps work really well on the floor – the medium dries faster on the paper. I like poly on my work surfaces, as my friend Virginia, a found-object artist, likes to peel all of the dried goo and create new art. I love that.
Airtight containers to mix and save the paint and medium mixes in. I’ve heart of people using Ziploc bags, but that sounds too intensely messy even for me. When your containers get too gunky to use, you can soak them in a bucket of bathwater (I’m in California and we are in a drought) and the paint will peel off. Same with your plastic spoons.
Toothpicks or – best – wooden skewers for kabobs for popping bubbles and sometimes to swirl your pigments together ( also like using a gloved finger or plastic spoon better for swirling – Less chance of funky white divots from scraping the surface)
Plastic knives, spoons for mixing and pushing paint around (I like spoons, but knives work well for dripping paint in a controlled fashion)
A level. You may be unpleasantly surprised to find out what your painting has done overnight if you leave it unlevelled. This stuff likes gravity and will go where gravity dictates. Always good to check it each half hour.
Paper towels, or rags
A bucket of water for dipping your gloved hand in to clean it off
Rubbing alcohol, for cleaning up drops and spills and, well, sometimes we start cleaning up without our gloves on and … it does not help het it out from under your fingernails.
Medium
At least 16 oz. of Liquitex Pouring Medium if you are working under 16” x 16” in size. In fact, if you really want to start to learn the medium, don’t get anything less than a 32 oz. You will jut get hungry for more, and that itch to keep doing it, and run out. Stop buying café coffee for a couple of weeks, or cut something else out. You can do it. Put it into your art instead.
Paint:
Acrylic, artist grade. Don’t use craft paint or cheap student grade. The matting fillers in it don’t work well with the medium.
Fluid or high flow paints mixes best
If you are a careful, slow mixer, you can make thicker bodied acrylics work with interesting streakiness, or really keep mixing and make it smooth.
I use a lot of Golden transparents as in the paint groups section. I like them.
Don’t buy pre-mixed black. Just don’t. Unless you want the black to be really forward, dead, on the surface. Then you should go for it. Post me a photo. Maybe I’ll change my mind.
Your Painting Support:
I like using sanded cradled board, with 2 or 3 coats of gesso.
You can use pre-gessoed Masonite – it’s too slippery for my taste but because of that you end up using less medium, so if you are on a budget, it’s a way to explore the medium without breaking the bank. It just doesn’t turn out as thick and luminous.
You can also use Plexiglas – it will adhere permanently to this. Not super thin – too thin will flex while drying and distort your work. Thin is ok for practice.
Canvas stretched on cardboard can warp, but is fine to use for practice.
The above 3 options will all need framing if you have a successful piece.
Stretched canvas sags and the medium puddles in the middle. If you like that, try it, but I don’t like the effect. I am toying with the idea of stripping a painting off the stretchers and mounting it on board, and then pouring over it … but I haven’t done it yet so can’t tell if it would be as awesome as I think it might be. Let me know if you try it.
Get Brave. Get Pouring. It’s Good for You
(cheat sheet w/shortened steps follows – copy & print it for your personal use)
Cheat Sheet
Gesso your Board so it has time to dry.
Make sure you have gloves, tarps, spoons, etc.
Set up a level drying area.
Choose your color palette and plan what paints you need to mix into medium.
Carefully mix your paint and medium into cups, squeeze bottles, etc.
PUT YOUR GLOVES ON!
Then
Pour! In the beginning, start with your light transparent color.
(You can tilt and tip anytime you want in this process)
Add a lot less of a darker color – you can always add more.
Add some metallic or interference or the opaque of your choice
Consider adding a dark or light on top of or next to your metallic/
Interference to get it to intermingle better, possibly even swirl it a little
Tilt and turn it unless you like how it looks and make sure to
Stop before you think you are done
After:
Set it on a level drying surface
Pop bubbles, decide if you want to do any more tilts before it forms a skin.
Check frequently for the first hour to make sure the paint isn’t dripping off one side – you may have to prop up that side a little.
After a couple of days, you can add another layer. It will take longer to dry.
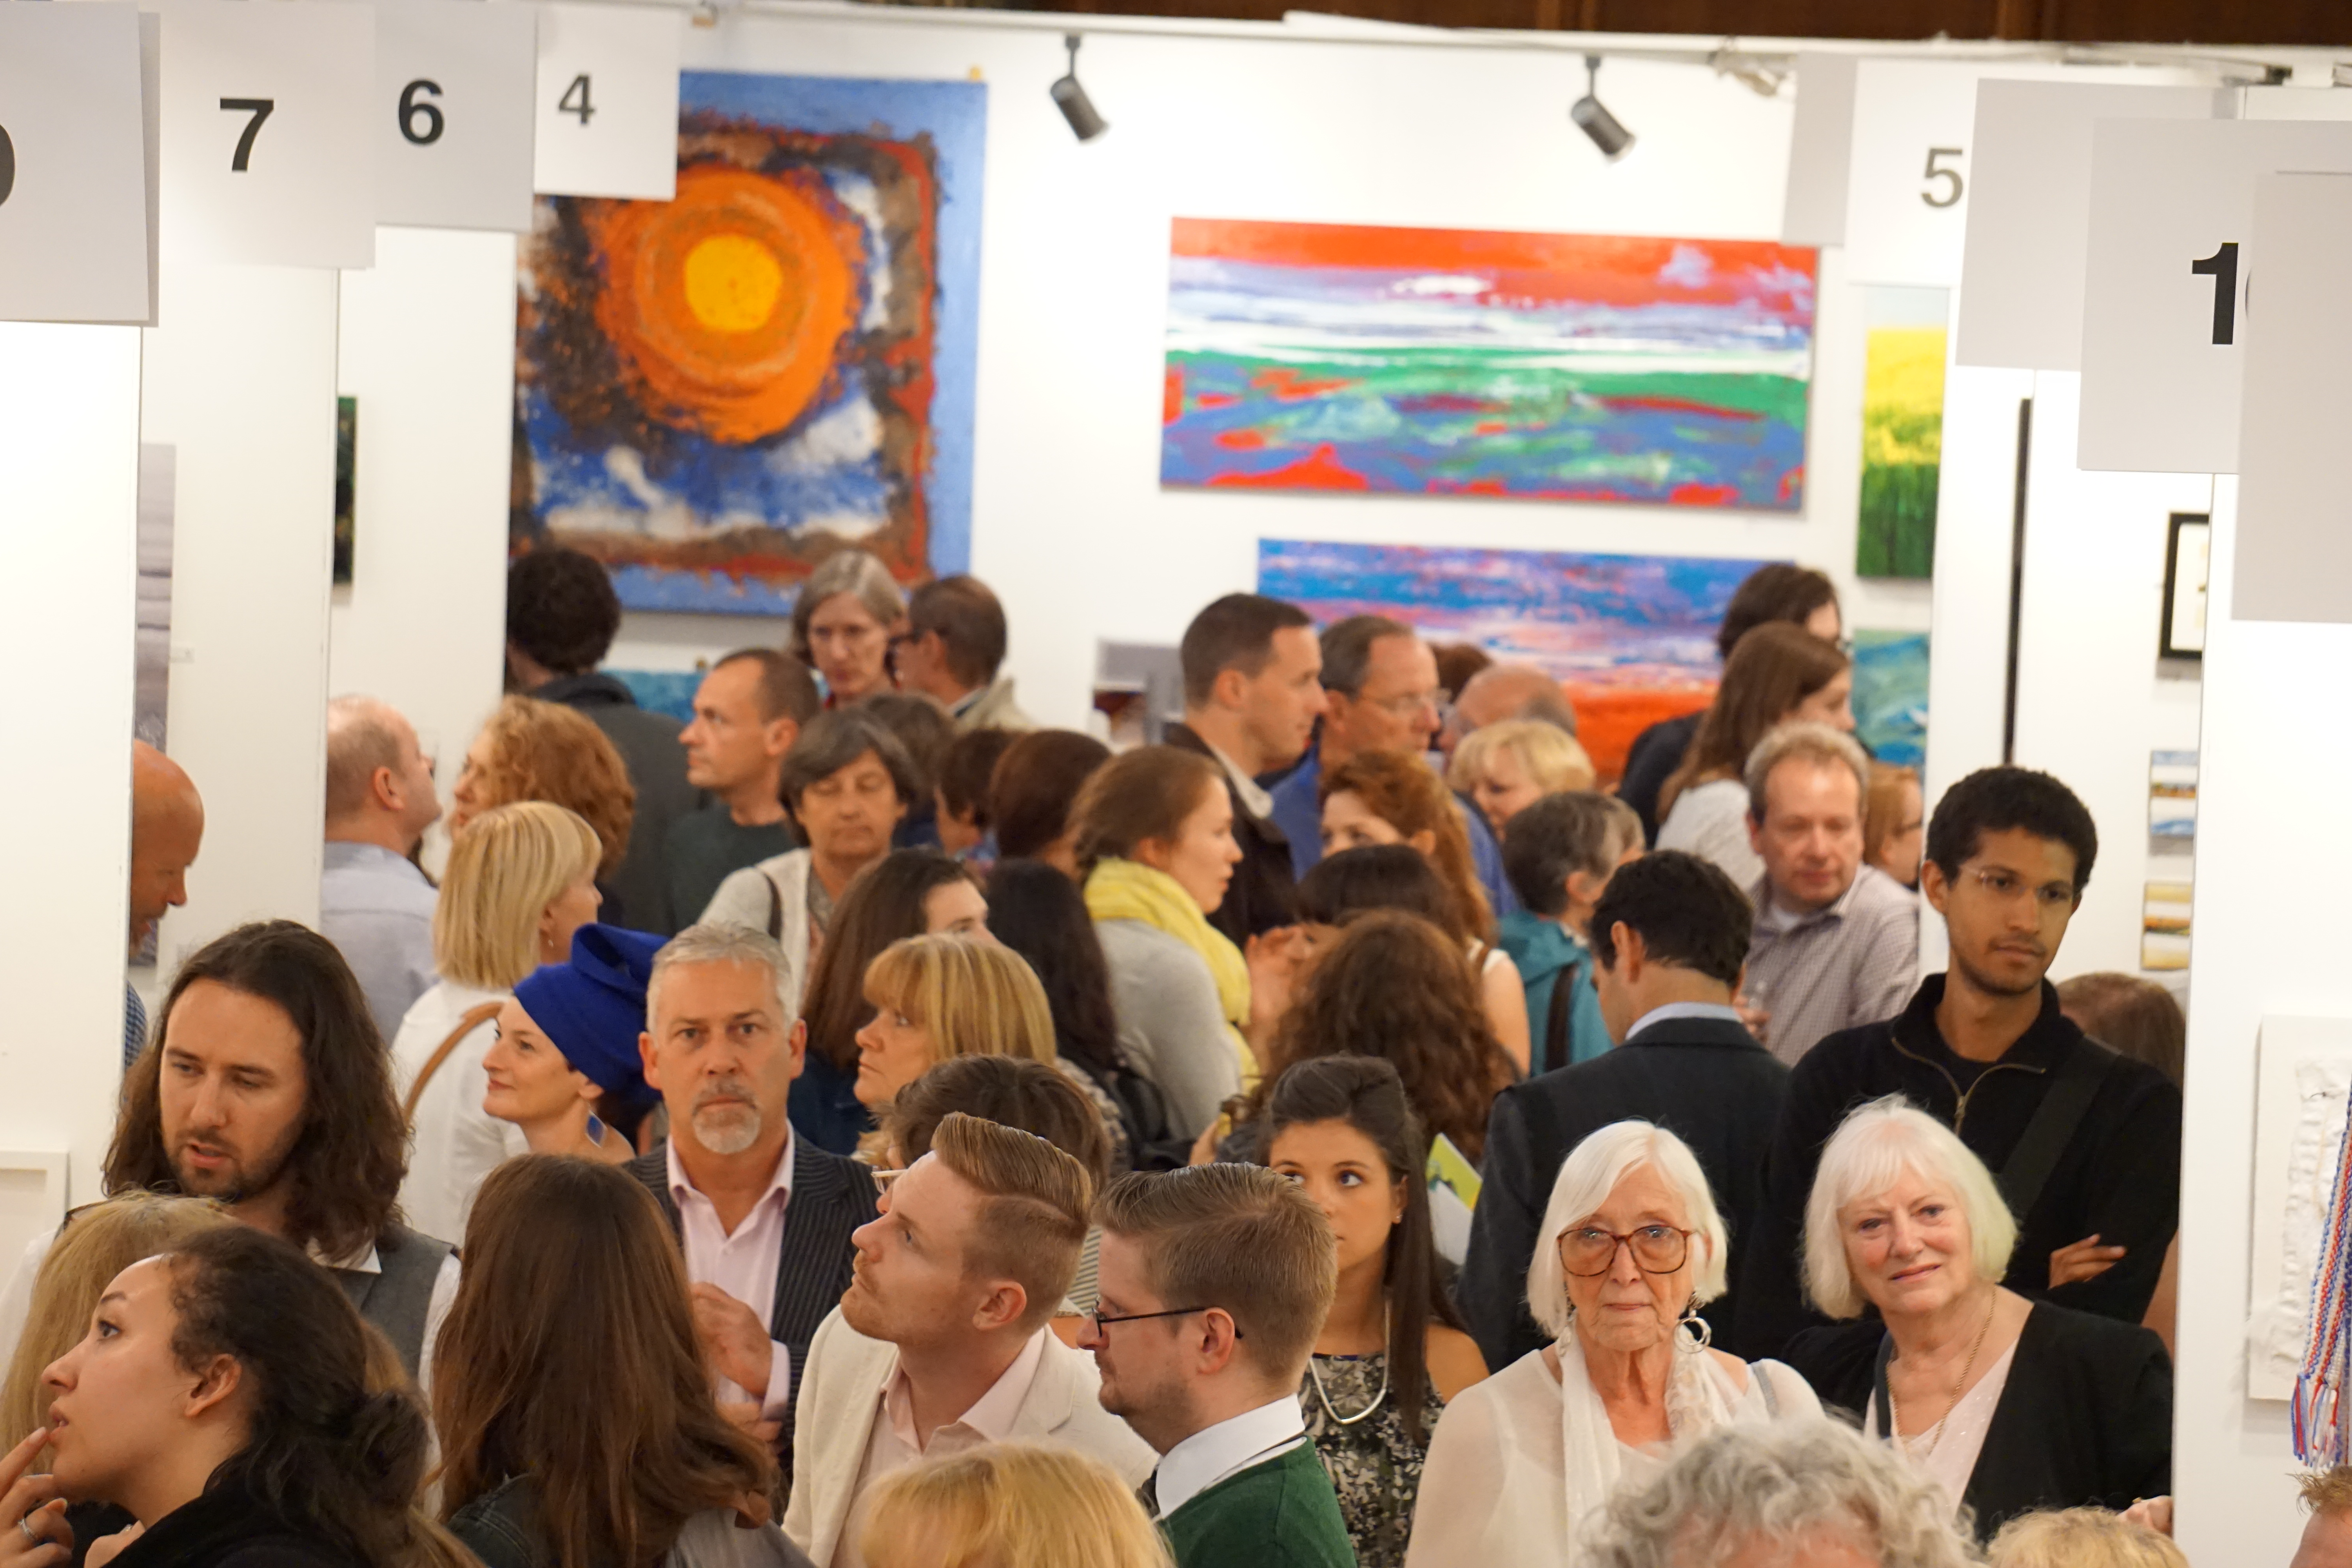
Parallax Art Fair 25-26 July 2015 was my first time showing in an international artist-based fair (where the artist hangs the art and works the booth instead of a gallery). It was a great time, and I learned a few things in the process that I thought I’d share-
Bring an extra outfit for opening night. You can have a catastrophic tear issue or coffee spill that leaves you rummaging in the suitcase. I know this from experience.
Read through the show requirements and make your shopping & packing lists well ahead of time. Get them in your scheduler. Pay attention to the details – the specific hangers Parallax required aren’t available in the states and had to be shipped from overseas.
Practice the coinage ahead of time. It makes purchases so much easier if you can count it out correctly (and you don’t annoy the people waiting in line behind you).
Set up social media ahead of time on a scheduler like a Hootsuite app. If you are in a different time zone than most of your fans, you can at least schedule it for when most aren’t asleep.
Might be worth paying for some cellular data roaming ahead of time. Delete or disable apps that use data roaming (ones you won’t need while on travel).
Bring a signup sheet – and I suggest adding a section for Comments. Some people won’t want to give you their email address, but might interact with a comment if they like your work and add it anyway. Sometimes, when someone’s stopped and looked and said, “Lovely!” or, better yet, made an insightful comment on the work, I’ll write that down myself. Some people then sign up as a result – and if not, I have that lovely comment down on paper!
Aside from a signup sheet, have a reason for them to sign up. For me, my DIY Pouring Paint (No it’s Not Resin!) blog coming out in late August was an incentive. There was a lot of interest in the medium – it really does look like resin.
Ask questions ahead of time. The Parallax Manager was wonderful with me, answering whatever question I had. As to questions, make sure you understand sales procedures. If they don’t explain ahead of time, ask early, and long before you start making sales. You don’t want to appear like you don’t know what you are doing.
Especially if you are flying a long distance, go a few days early to get over jetlag before hanging and opening night. It is hard to be enthusiastic about your art when you can’t stop yawning.
During times when the attendance is low (our Sunday was very rainy, and it didn’t pick up until later), take short breaks, explore and meet the other artists, especially those whose work rings a bell for you. Pick up their cards so that you can contact them afterwards. I met a few new friends that way – plus, if you are at all like me, I love when the show is busy and I’m constantly talking with patrons. I’m not great when it’s slow. Taking breaks to interact with others keeps me from getting antsy. Patrons can smell antsy a mile off and they don’t like it much.
I remind myself of this at any art exhibition I participate in: It’s Not All About the Sales. It’s about contacts, handing out a ton of cards, engaging with people interested in your art. You started the art conversation by creating the work – engage in that conversation with the people that get your work. And, often, the best things happen after the show.
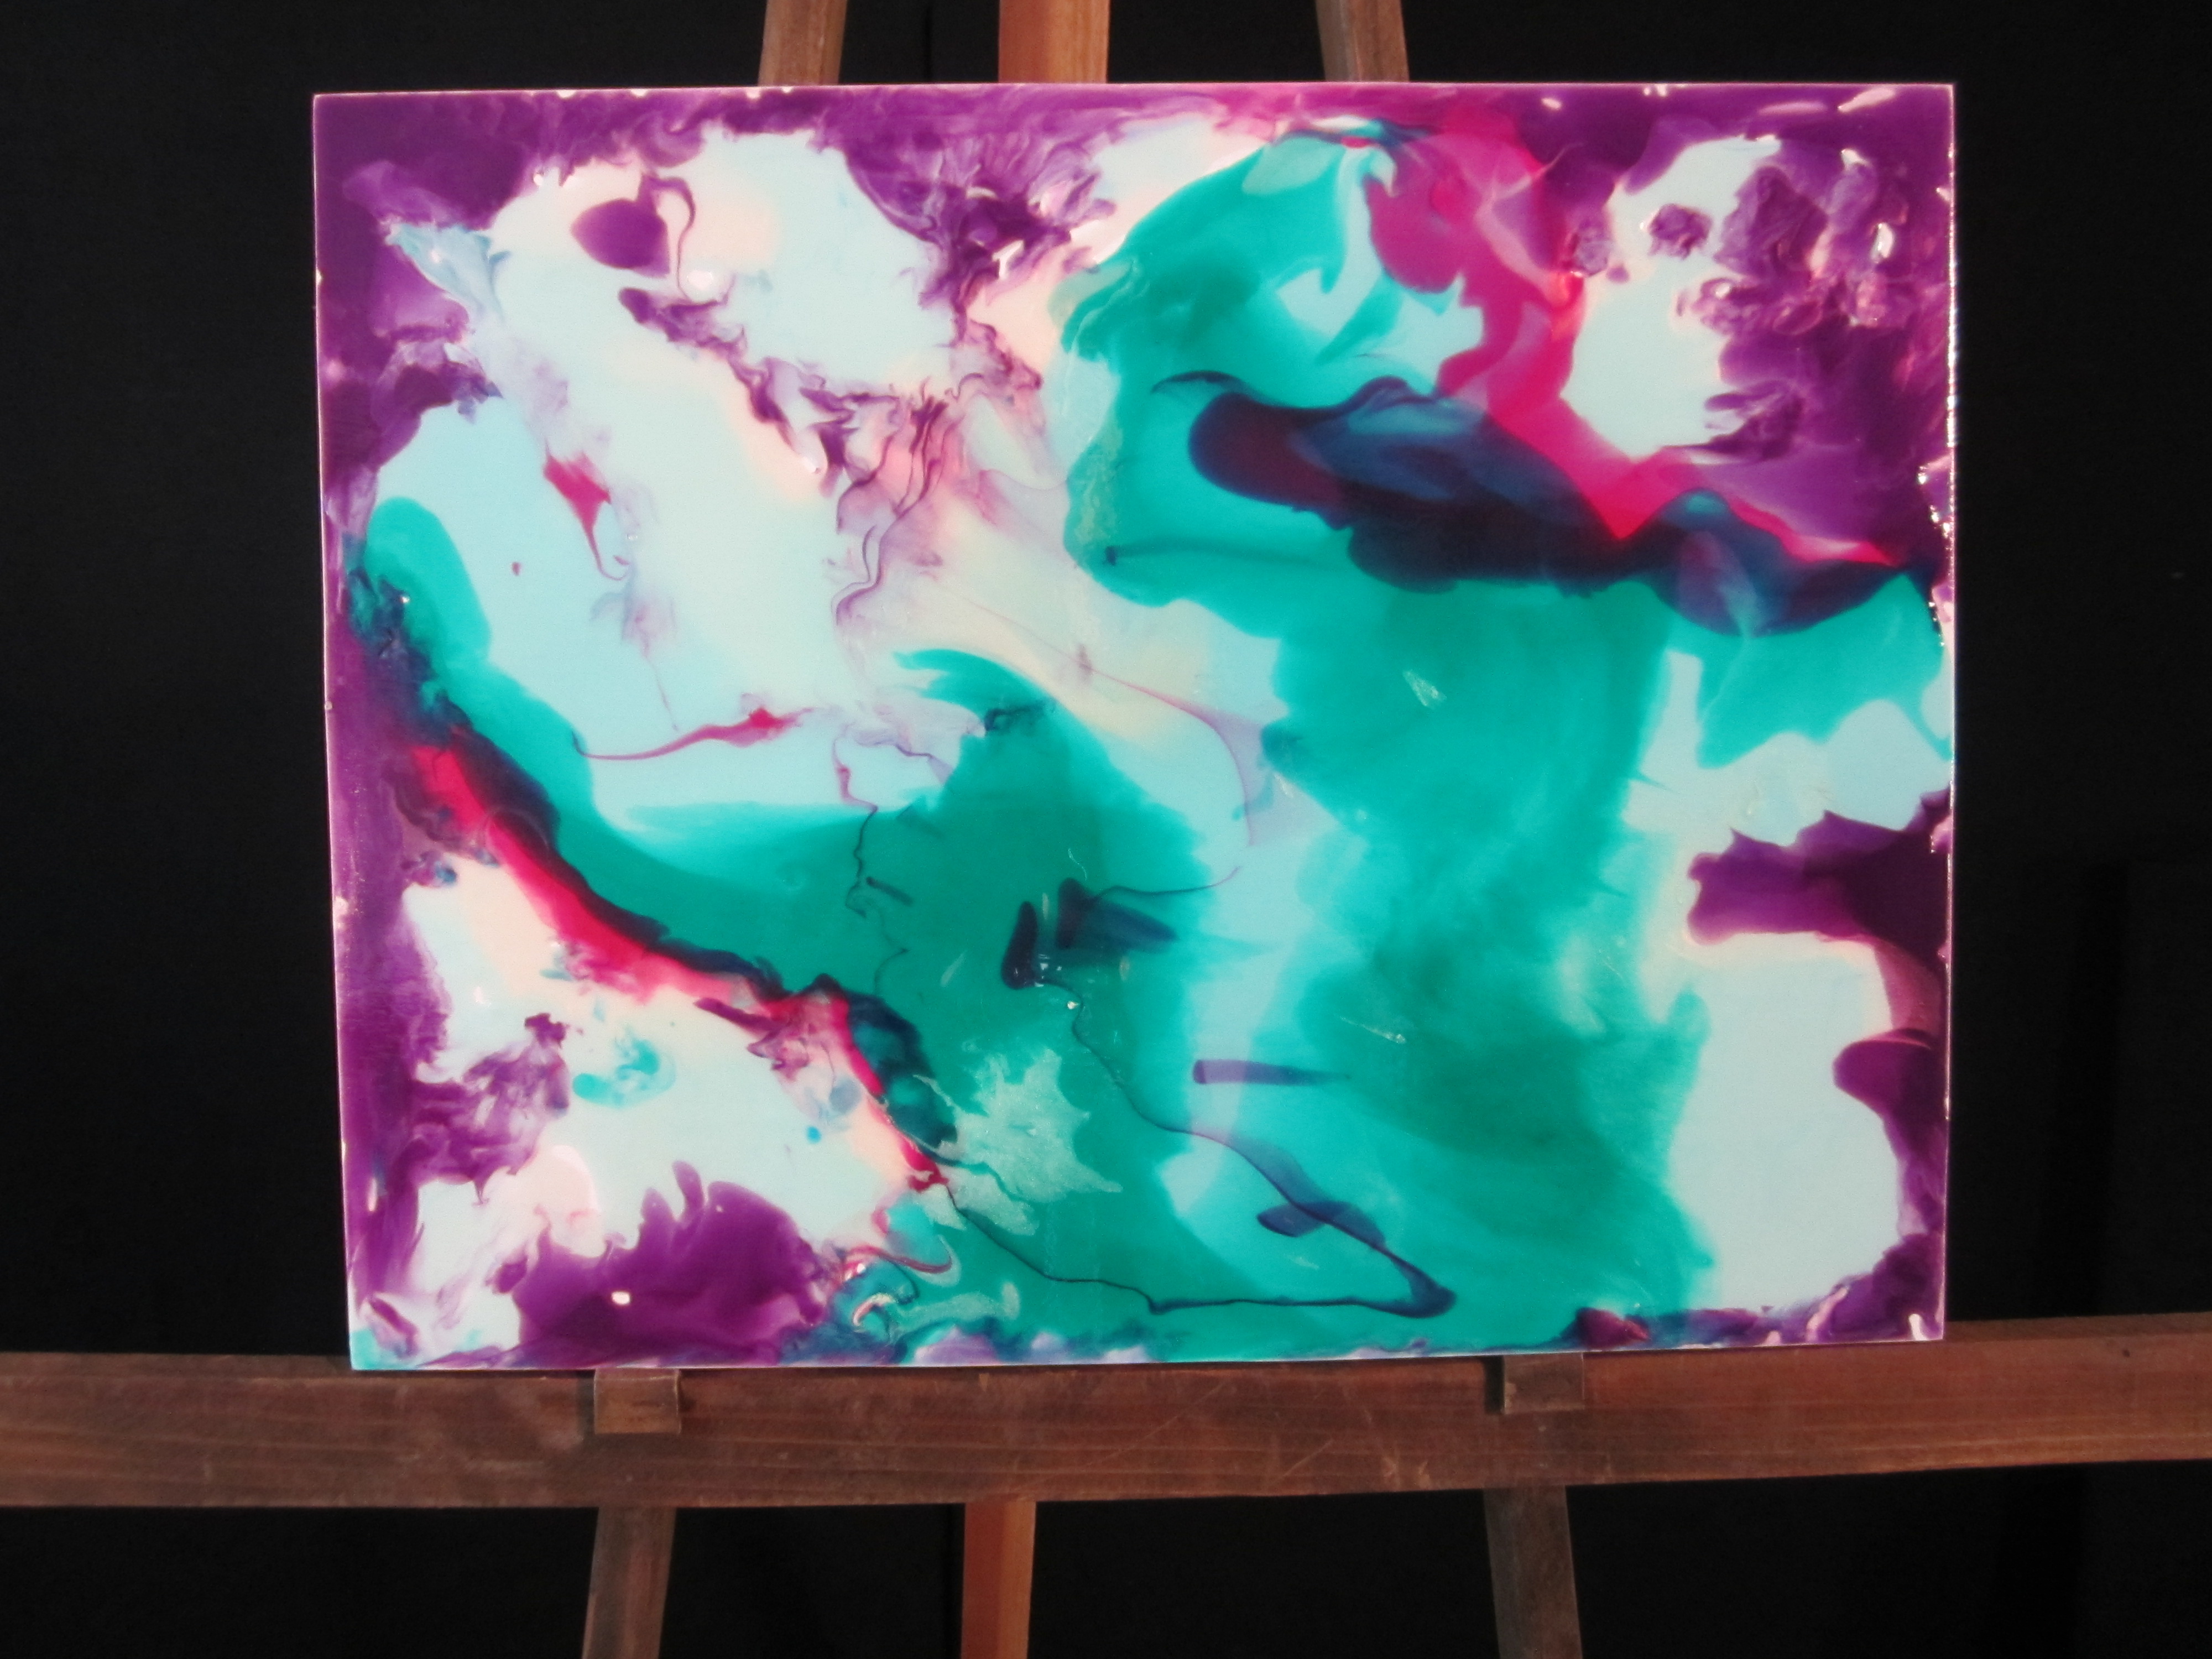
In 2014, California artist Linda Ryan was faced with preparing for an upcoming exhibition with her painting hand in a cast. Rather than cancel, she chose to move away from the abstract figurative work she is known for and challenged herself with creating art using gravity, flow and Liquitex Pouring Medium, to capture luminous “stopped” movement.
Ryan found the process and results so exciting that she reduced her employed hours in order to focus on her art, and is taking 20+ new pour paintings to exhibit at the Parallax Art Fair in London the last weekend of July.
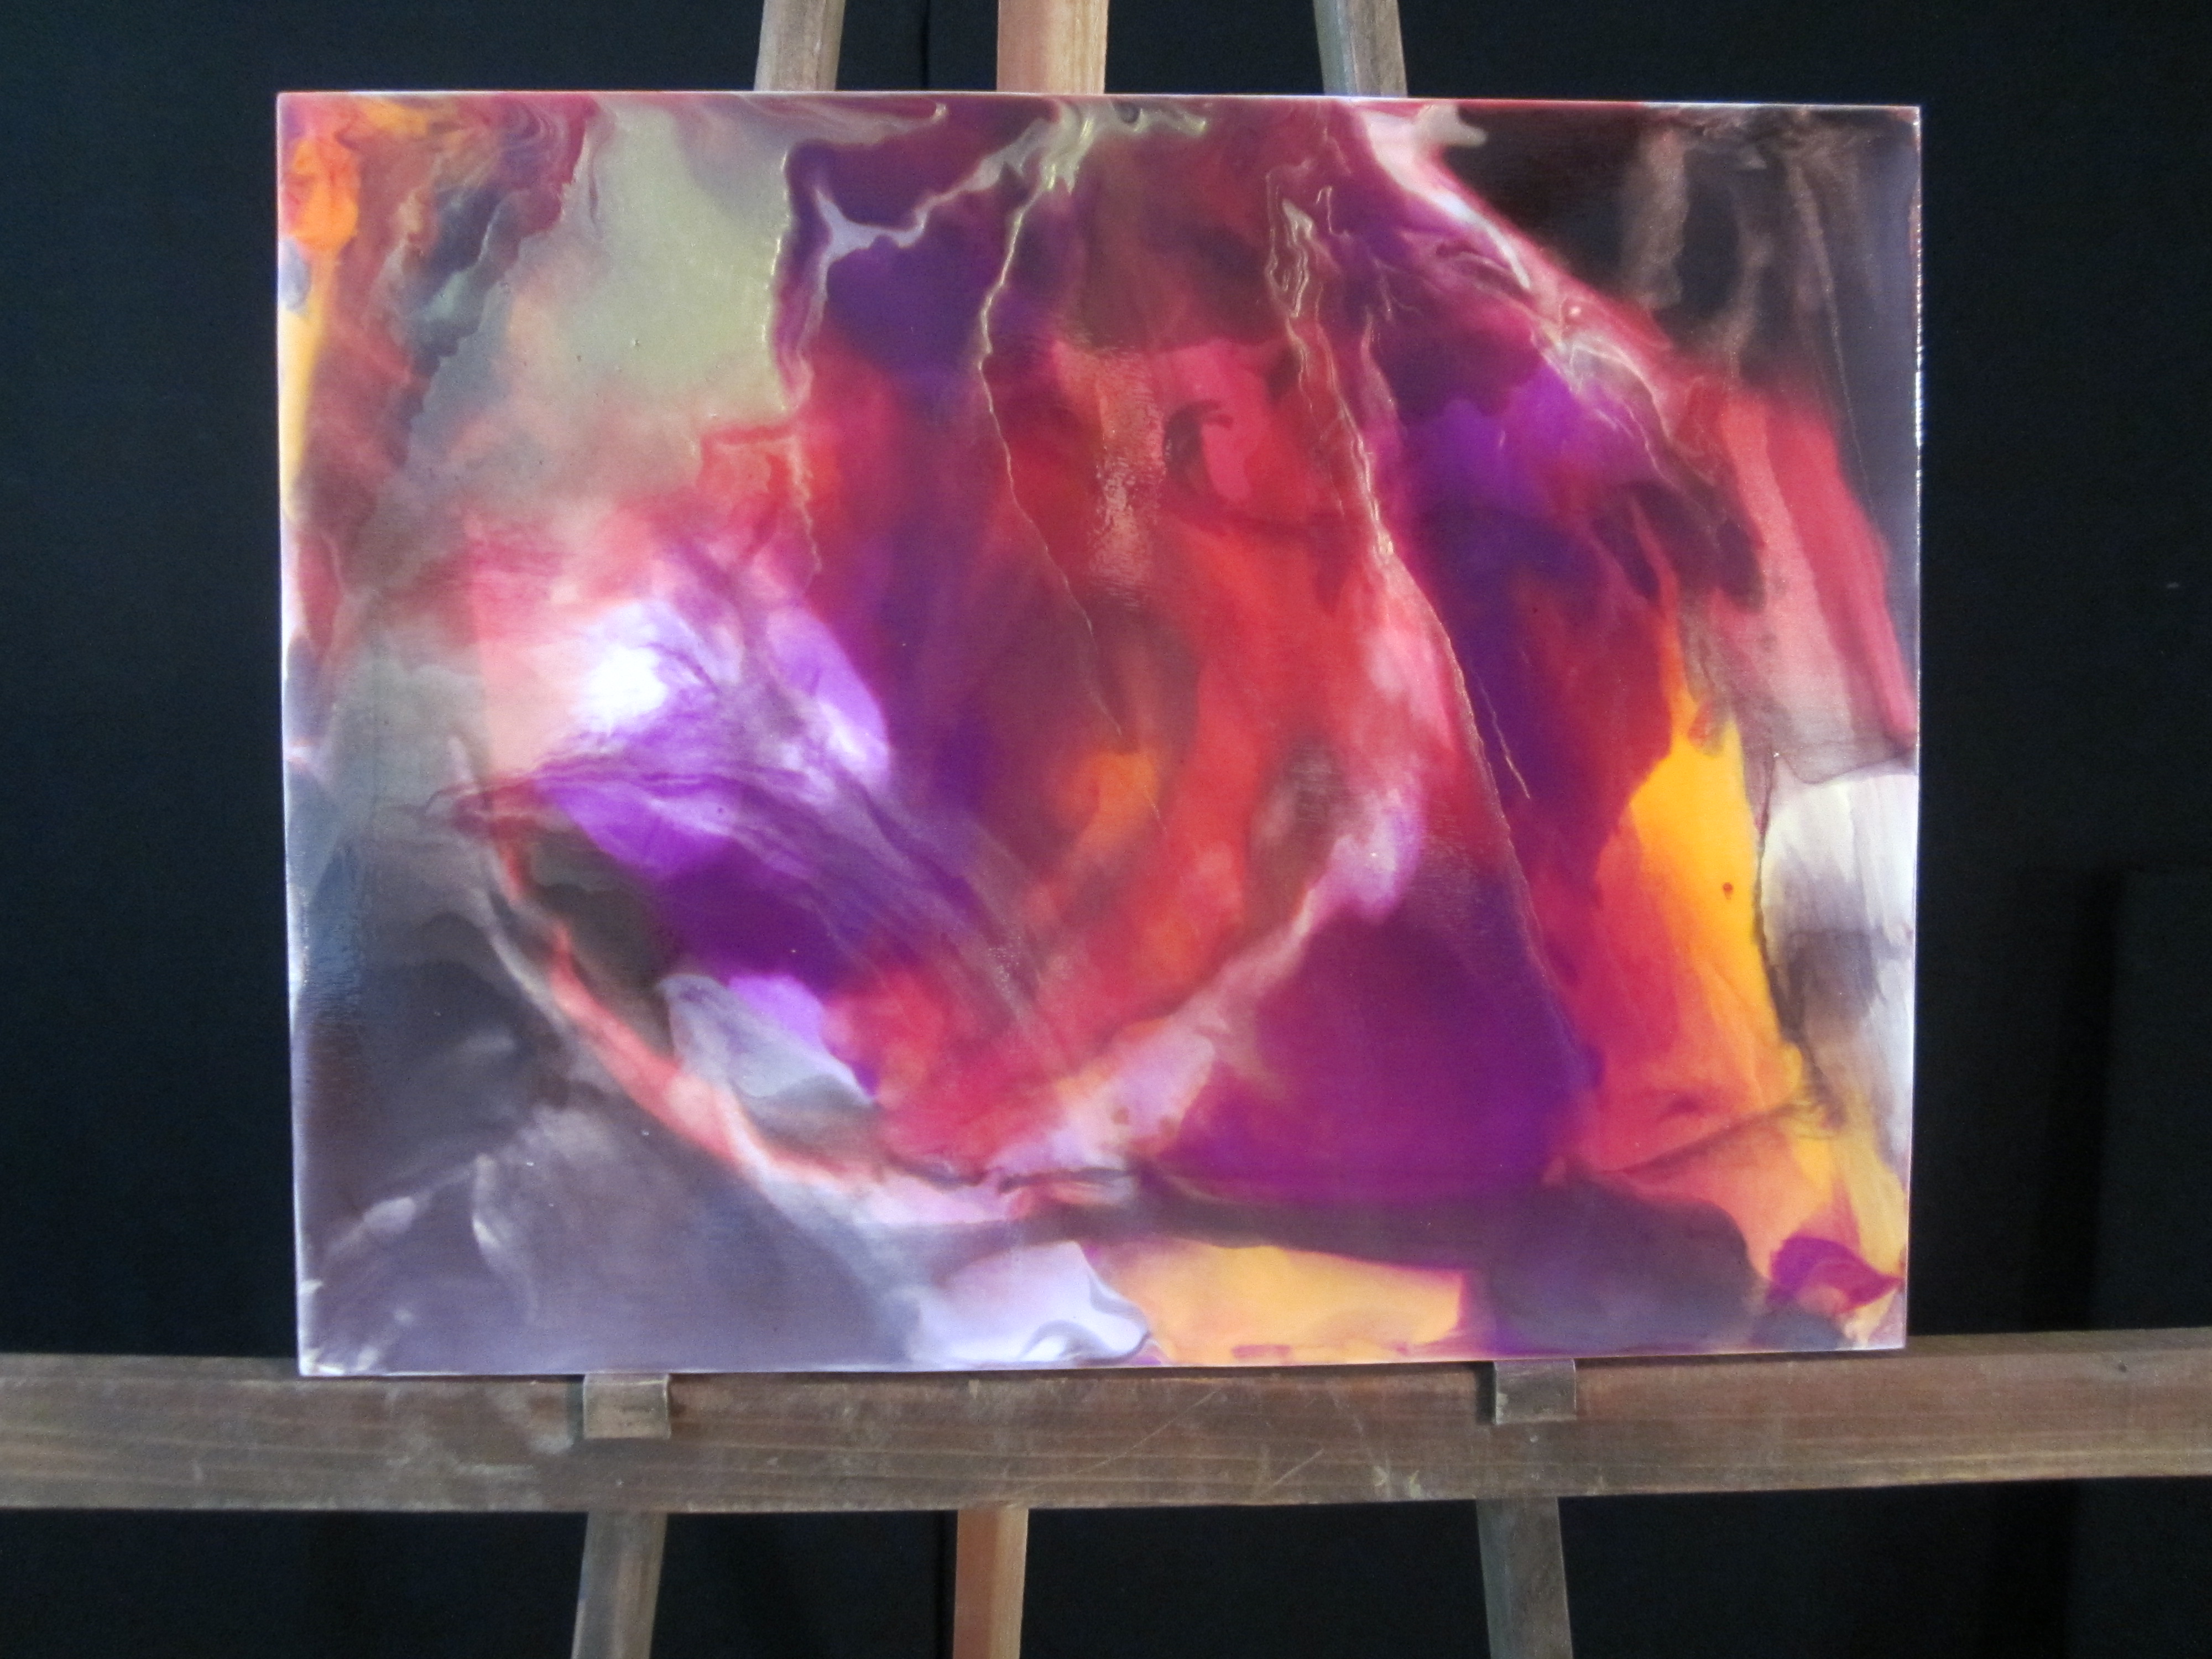
“Flow” Acrylic Pouring Medium on Cradled Board copyright 2014 Linda Ryan
“It’s a bit challenging,” says Ryan, “The medium is opaque while it’s workable. You have to have a good visual memory to recall what is on the under-layers, understand how your pigments react in the medium and with each other, and stop the movement at just the right time to create a strong composition.” But, she adds, when it works, they come alive with motion and depth. And when it doesn’t work? Ryan adds another layer, or two, or three, or sands them down and starts again.
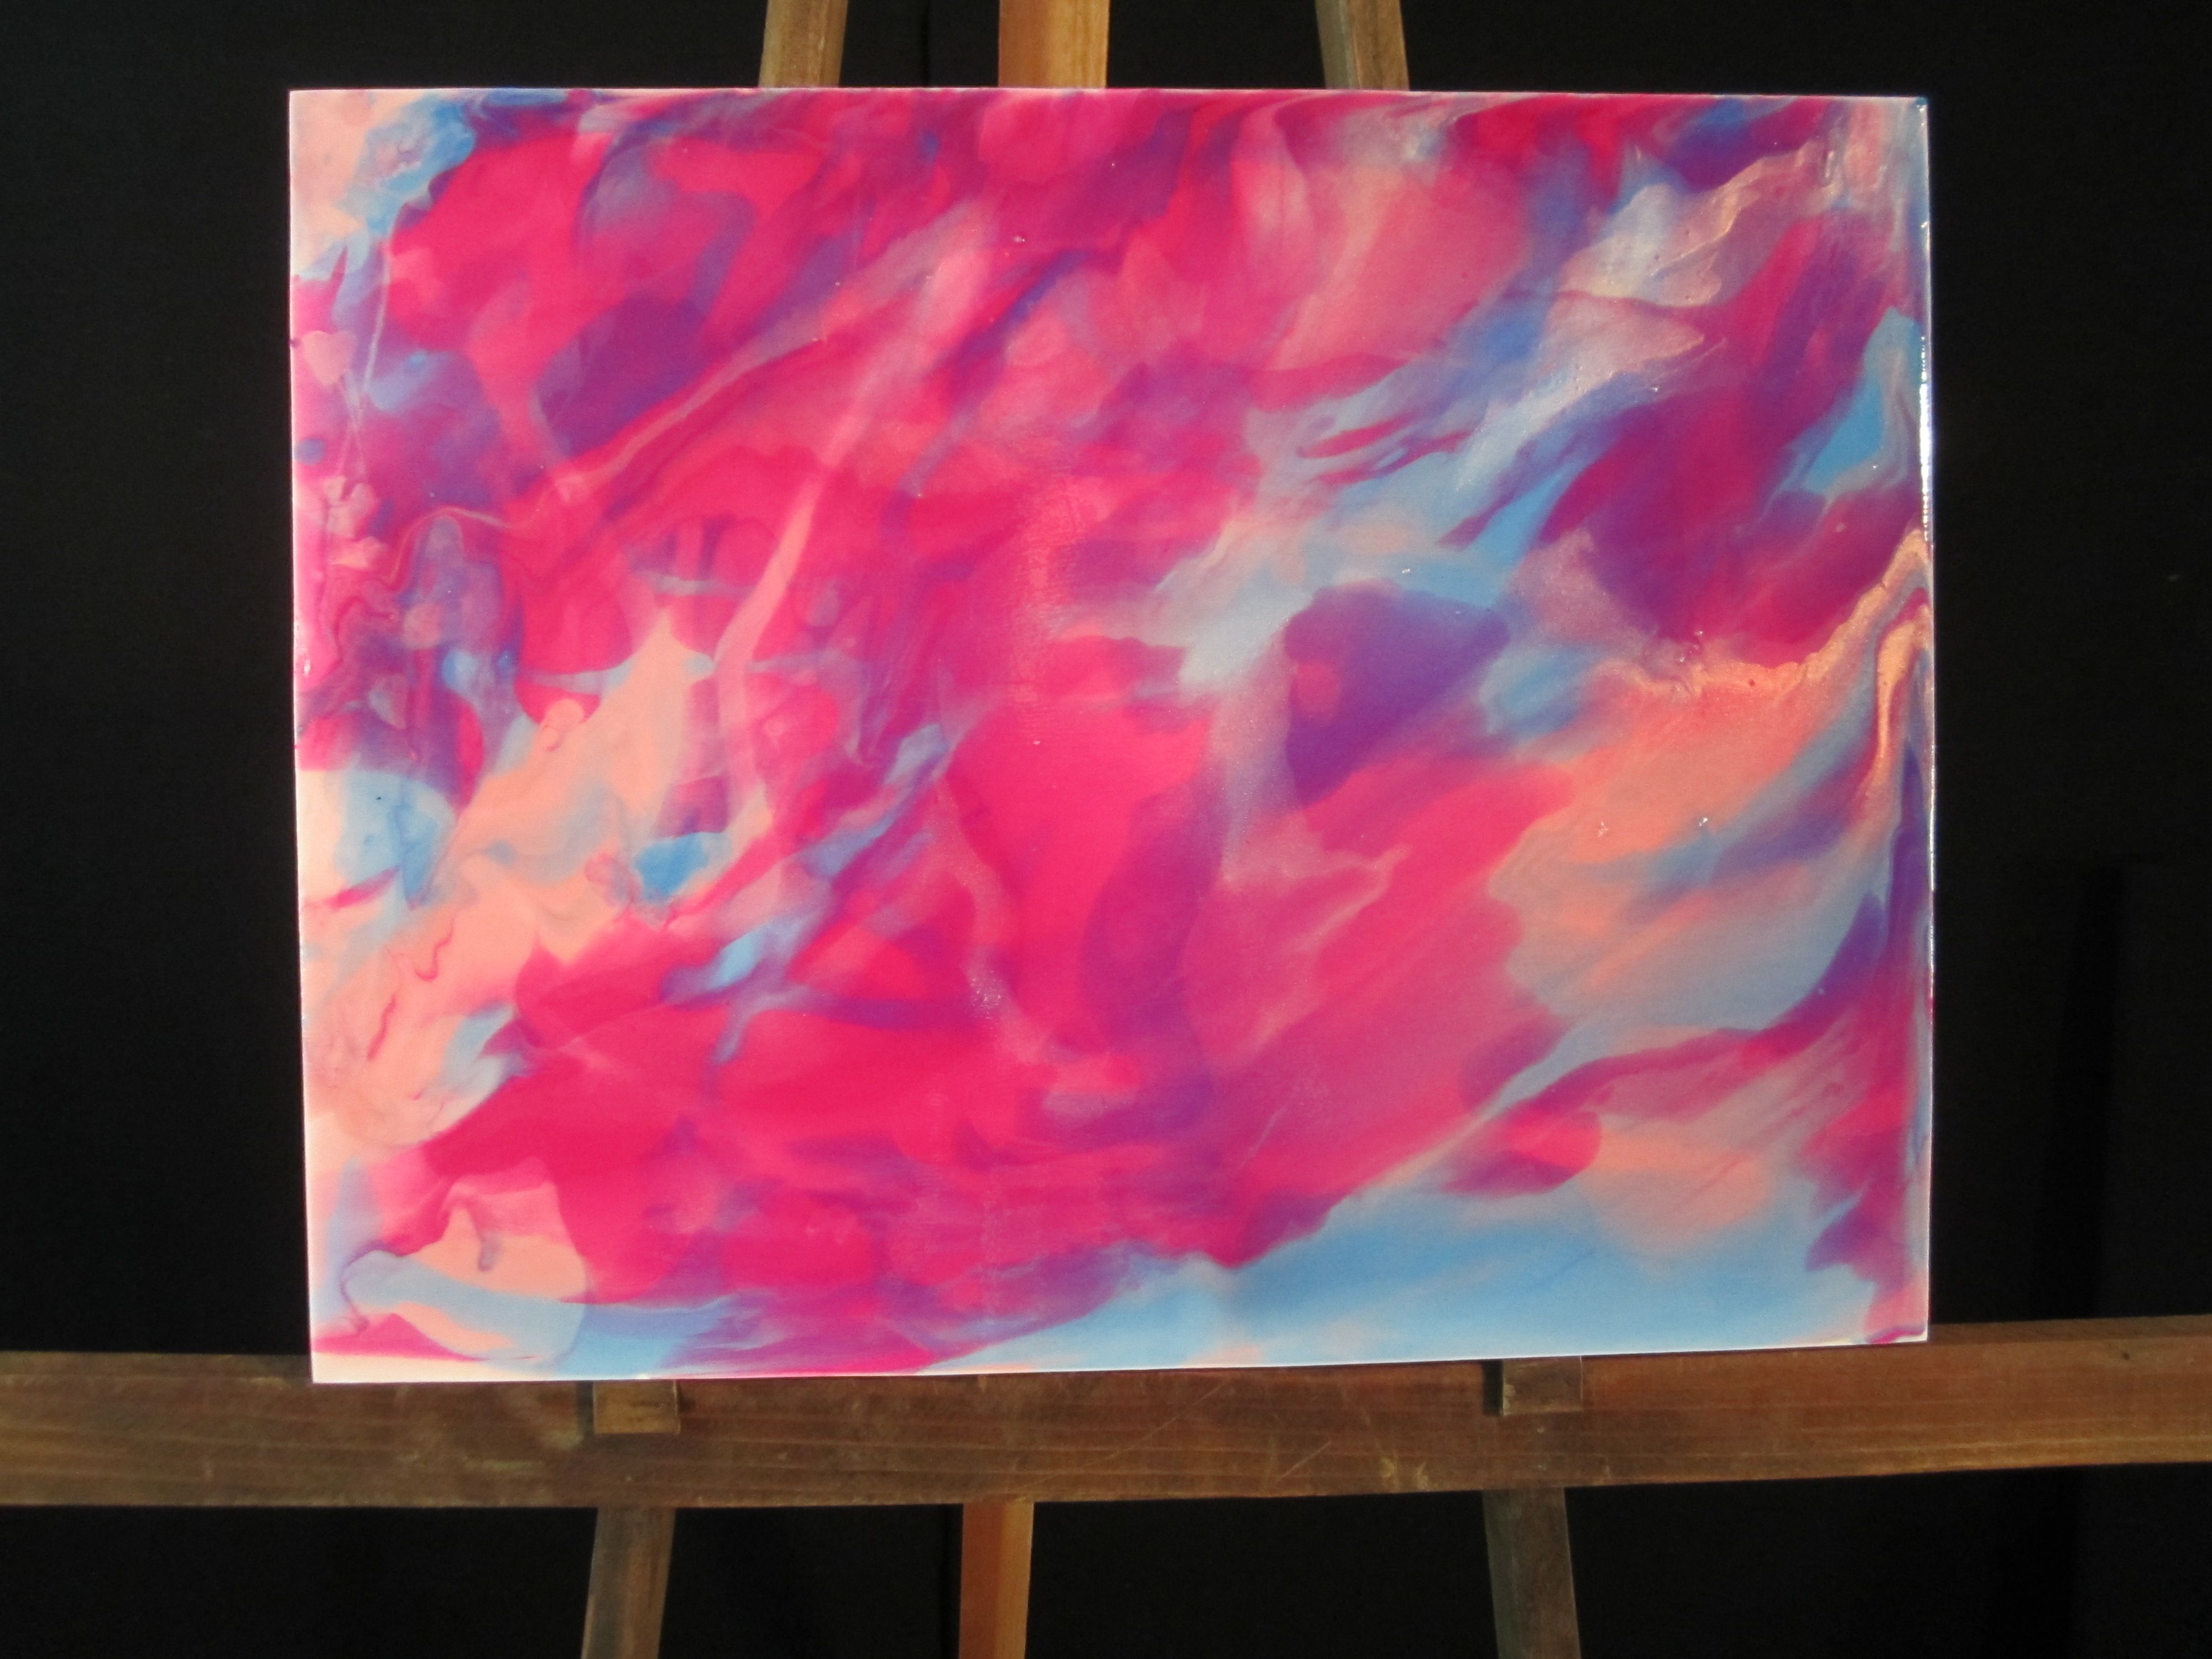
“Time4.0” Acrylic Pour Painting on Cradled Board Copyright 2015 Linda Ryan
Ryan will be traveling to London to exhibit Flow 2.0, her newest pour art, at the Parallax Art Fair at the Old Chelsea Town Hall, King’s Road, the last weekend in July 2015 and exhibits at ArtSanDiego in early November.
Ryan is an award–winning artist whose work is in collections across the States and in Europe. In 2014, Ryan received an Arts Leadership Award through her County’s Arts Commission. She has created and managed many arts events and exhibitions in the East San Francisco Bay Area, and has managed the Bothwell Arts Center, a project of the Livermore Valley Performing Arts Center, for 9 years.
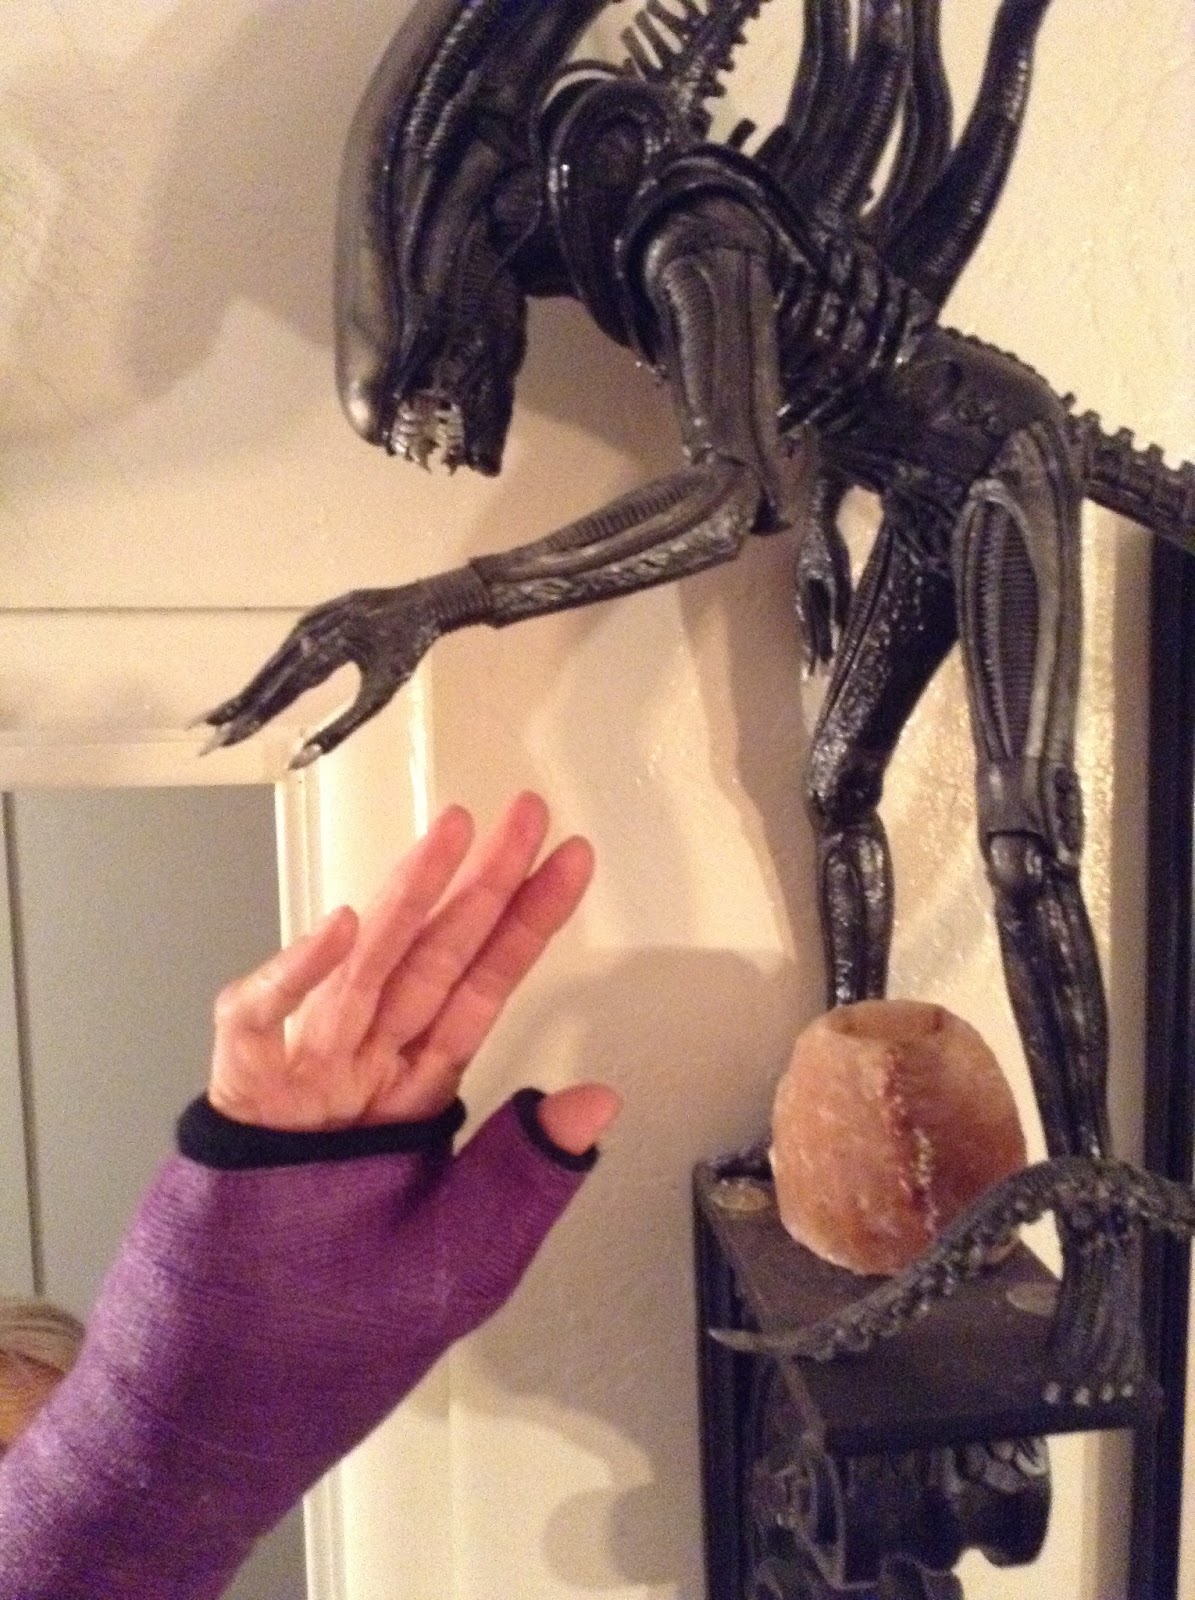
I had a bit of a fall in the Fall of 2014 and couldn’t hold a brush. This is how it ended up. High-fiving the Alien in the living room in a purple cast. That’s me in the cast, not him. I’m the one on the left..
I’m the one on the left.
I had a show coming up and had scheduled a bunch of painting time. And had that intensely edgy feeling that signals the need to paint. Stupid thumb.
It didn’t dawn on me that maybe this was one of those things that would change my art. I just had to get some paintings done, and they had to be good.
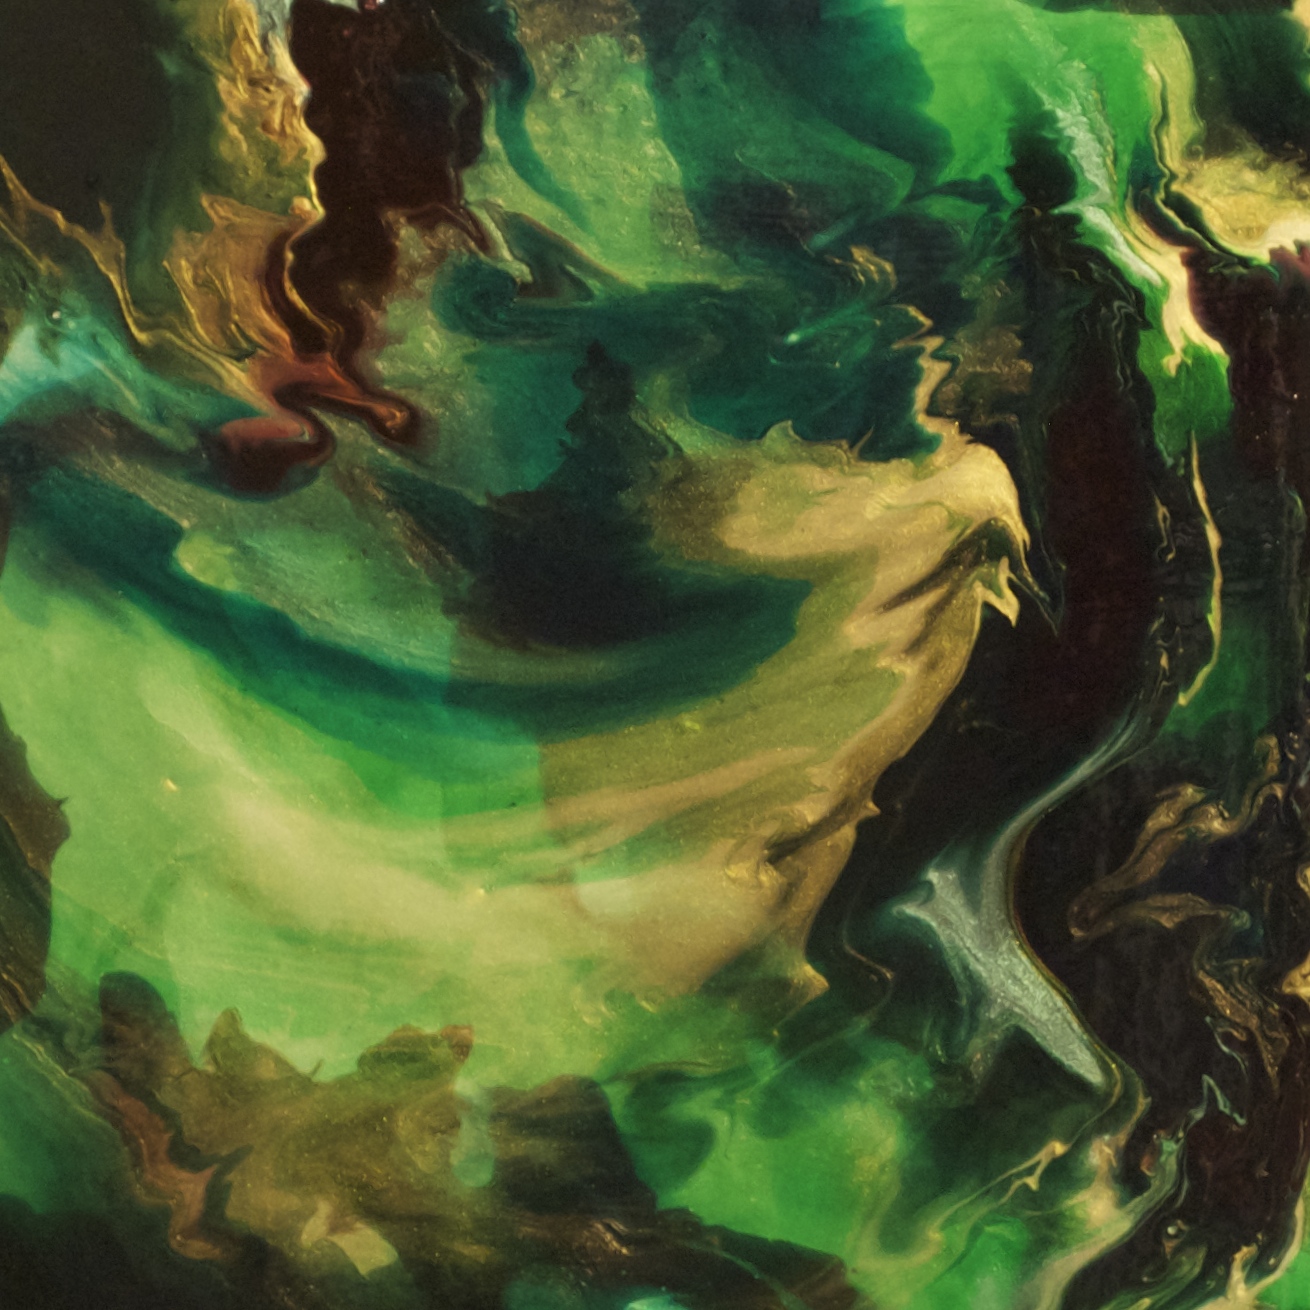
I’d been exploring, testing, playing and teaching using the recently introduced Liquitex Pouring Medium to make small, luminous, motion-based paintings. These were built on years of experimental play with a bunch of gels and mediums – and were the kind of resin-like finish I’d been trying to get to for years.
Time to order a bunch of cradled board from my friend at Way Up Art & Frame. Hired a young friend to gesso the boards. Ordered a couple of gallons of pouring medium. Got tarps (lots) and the largest latex gloves I could find.
It got kind of exciting.
Had to go back for the largest janitorial rubber glove I could find, split it down the side and duct-taped it together (with purple duct tape. You’ll just have to imagine it. I was too busy painting and way too into it to take pictures.)
Then I started on big squares. Man, those knocked my socks off – and were super challenging, to try and create a solid composition within a square, interrupt circular references and create places for the eye to travel along, all within the constraints of a fun but tricky medium – milky fluid that hides what is below and sort of shows what floats (the benefit of all that experimenting!!).
flow 1.0, acrylic pouring medium on cradled board copyright 2014 Linda Ryan
Cool, huh?
Intense yumminess. That sense of aliveness, being one with the paint, inside art with the art, me and the art and then it’s just the art (thanks Audrey Flack). And then the next fun part – watching them dry. And then just living with them.
Only got a little paint on the cast. Got a bunch on my tarps to strip off and give to my friend, Virginia, who uses them to make collages. More about Virginia later, you’ll love her.
And later, I’ll post more about the method, give you a little DIY tutorial and more about following the flow … catch up a little on my belated blogging.
The takeaway here is – sometimes things that are painful on the surface help define us, show us a new path. Open a new door.
At least, that’s my takeaway….walking through the open doors….following the flow.


Recent Comments